
Tween Boy’s Colour Blocking Bedroom - Final Reveal

In my blog post a few months ago, I showed you the layout changes we’d made to our front two bedrooms. Today, I’m sharing the final reveal of Bedroom 2 which belongs to our eldest boy, Jack.

Before picture. We knocked out the existing en-suite and created two new ones, stretching right across the room.

We ripped out the wardrobes, ripped up the carpet, re-plastered and restored the floorboards and door.

This was what it looked like when we’d first renovated it four years ago - there were actually some Dumbledore quote stickers above the bed but they came down along with the wall below which you can read about here.
Anyway, he’d gone off Harry Potter and wanted a change. Except he didn’t tell me he wanted a change. He just moved all the things out one by one. It started with the cloak and by the end there was only the bed left. So we sat down and had a Serious Chat. He explained that, now he was 12, he didn’t really want a Harry Potter themed room but he was happy just to leave it as it was with a bed and a couple of random gaming prints on the walls. He clearly doesn’t know me at all. I set to work straightaway.
The Interior Design Scheme
One of the things that inspired my concept for the new design was a Bauhaus-style living room I’d seen in Elle Decoration magazine. I’ve got a bit of a thing for Bauhaus at the moment. I love its simplicity and clean lines and of course its bold use of colour!
I knew I wanted to use colour blocking in this room as a fun feature and to incorporate some Bauhaus-style shapes. Jack’s bedroom has some lovely original features - cornice, door, window and restored floorboards. I wanted to keep the rest of the scheme quite simple so that these features didn’t get lost. After a bit of tweaking to the initial concept, this is the design board I came up with (as an interior designer, I don’t just use design boards for clients - they really help me to visualise everything together. It’s a bit like doing a puzzle where I change things round until they look exactly right):
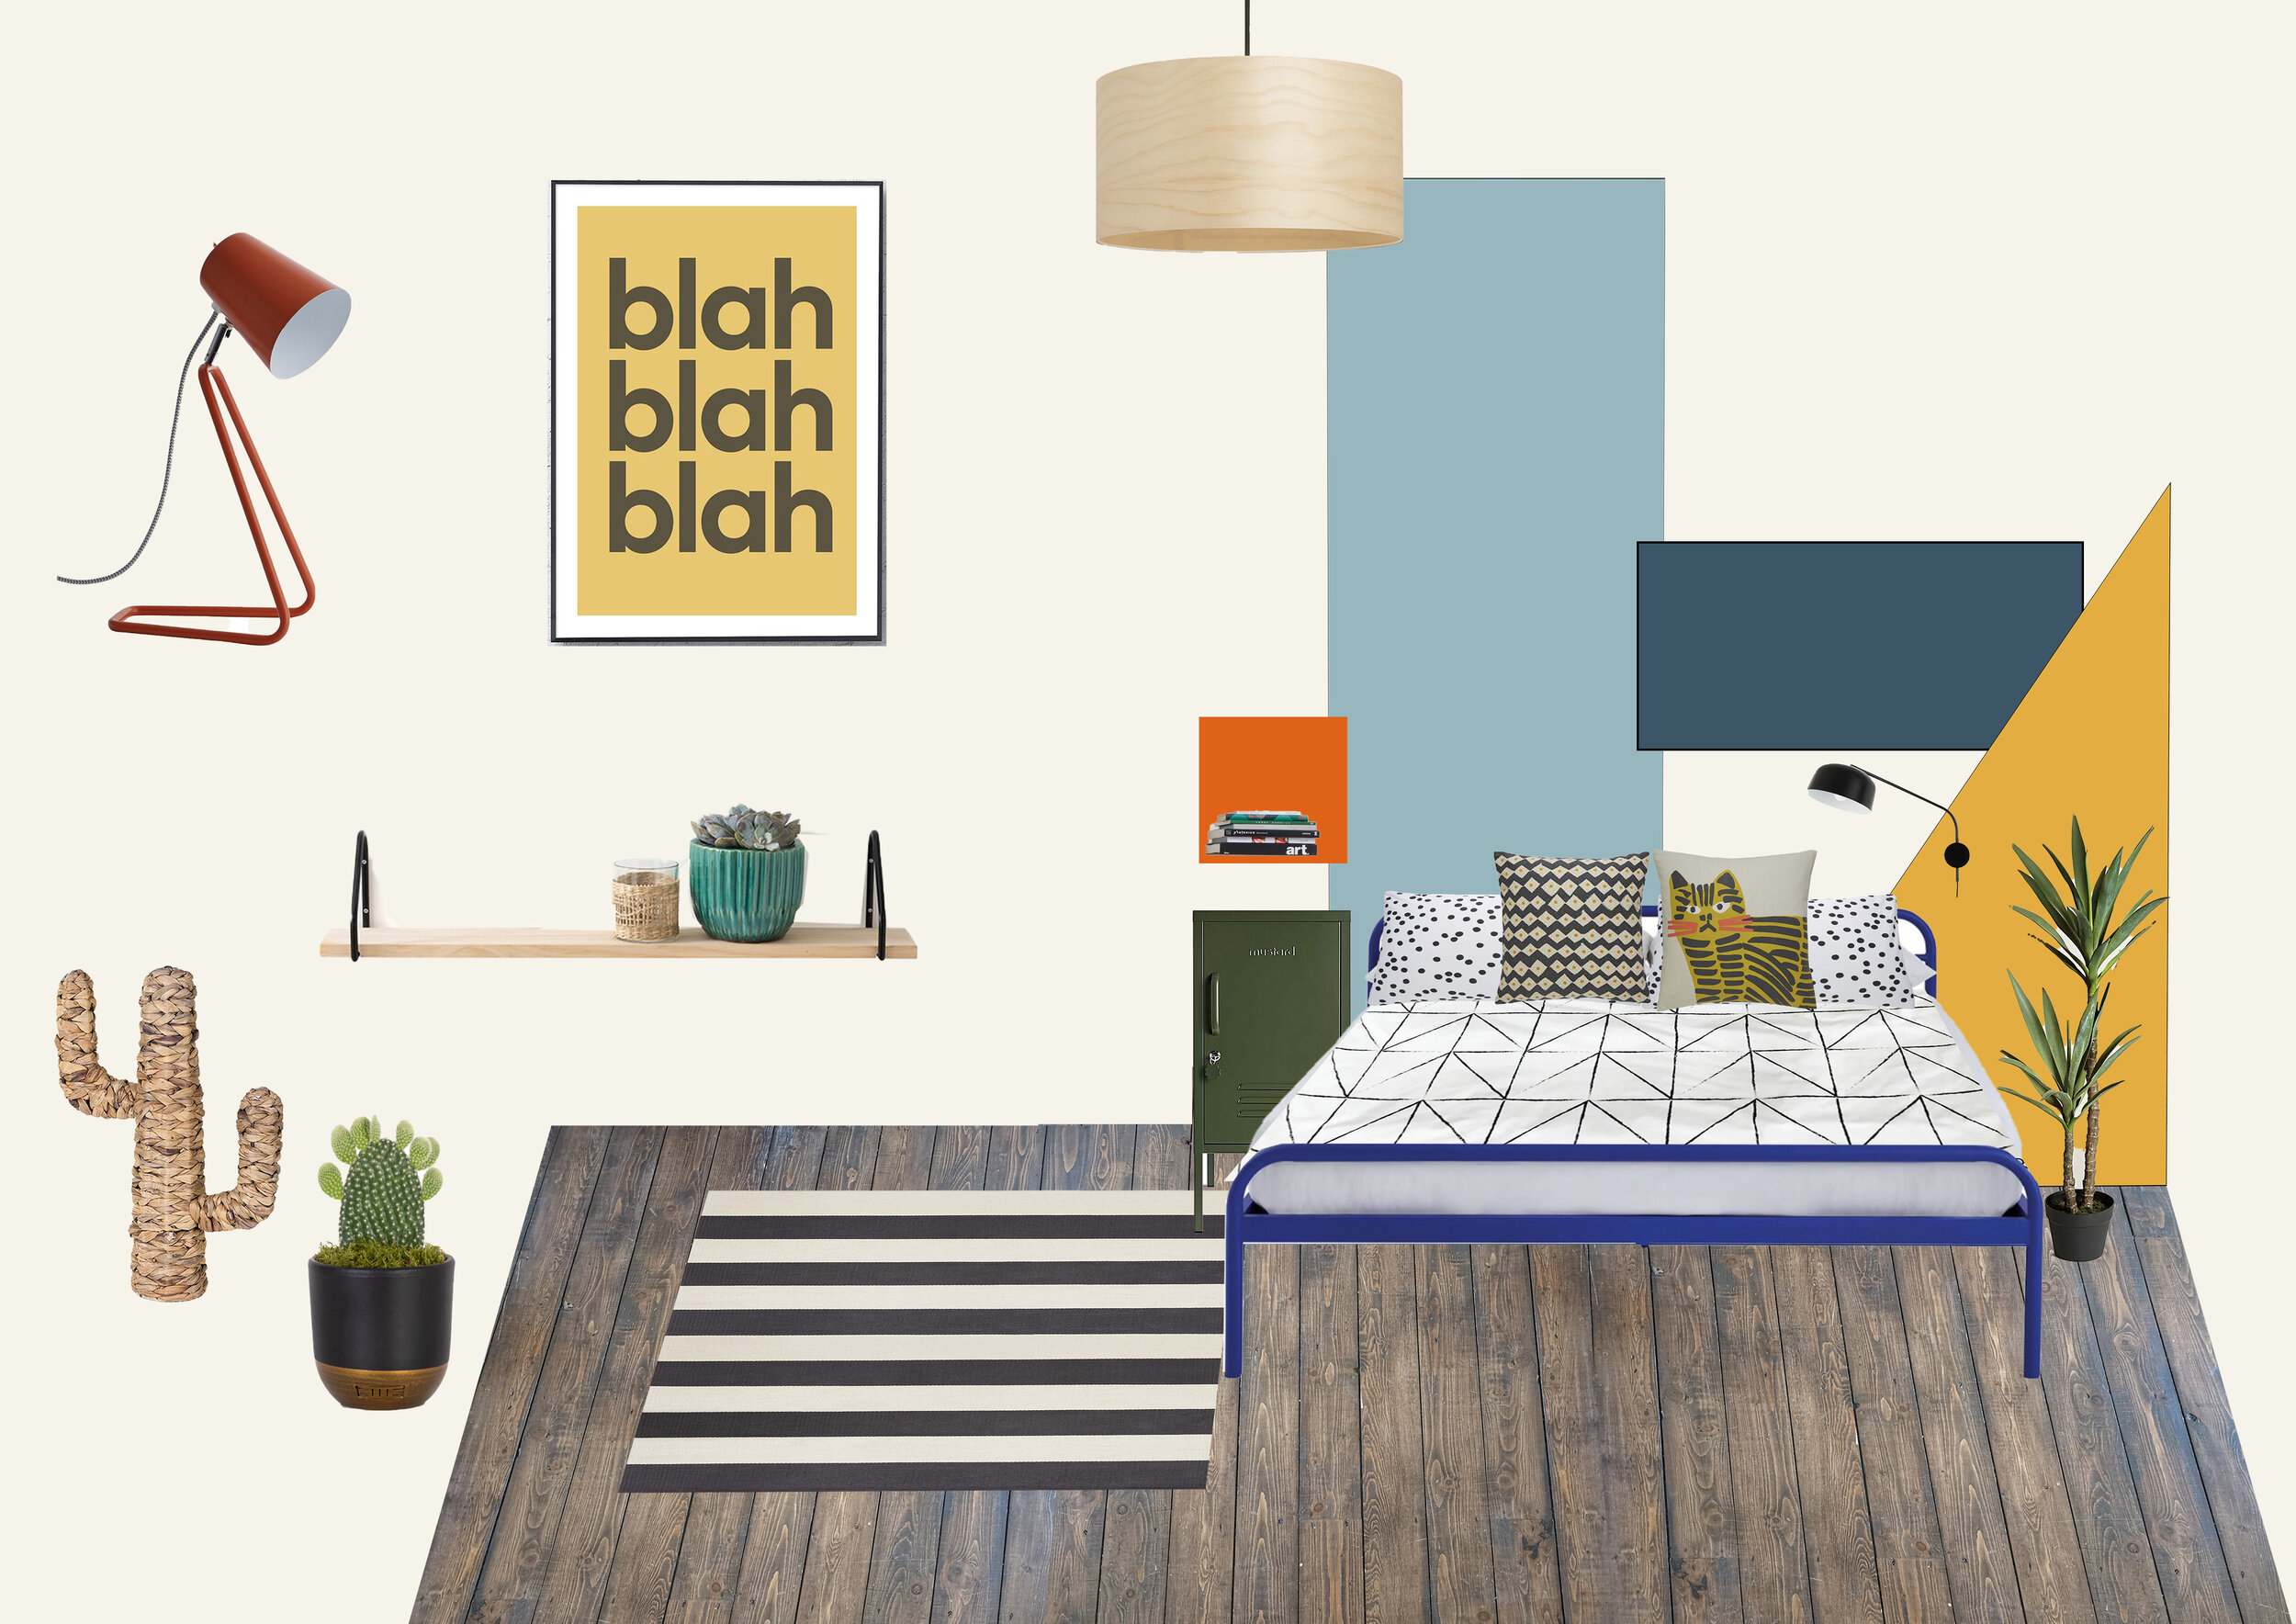
Images: Lamp, bed, rug, pillowcases, cushions & wall lamp - Habitat; Wall print - Gayle Mansfield Designs; Rattan cactus - Dunelm; Duvet cover and shelf - La Redoute; Yukka plant - George @ Asda; Cactus in pot - Little Botanical; Locker cabinet - Mustard Made; Ceiling shade - Made.com
Time to get to work! Because the room is north facing, the natural light coming through is quite cool so it needed a warm neutral. I'd never used Benjamin Moore paint before but I’d heard lots of really good things about it so I chose their Swiss Coffee shade for walls and woodwork.


Although I was painting over quite a light colour, the coverage of the Benjamin Moore Aura paint was brilliant! It covered in just one coat and because I used the same paint on walls and woodwork, there was no cutting in! It has a built-in primer too. It is slightly dearer than other paint I’ve used but I definitely saved money because I needed so much less. I’d highly recommend (they have 3500 colours so you won’t be short of choice!).

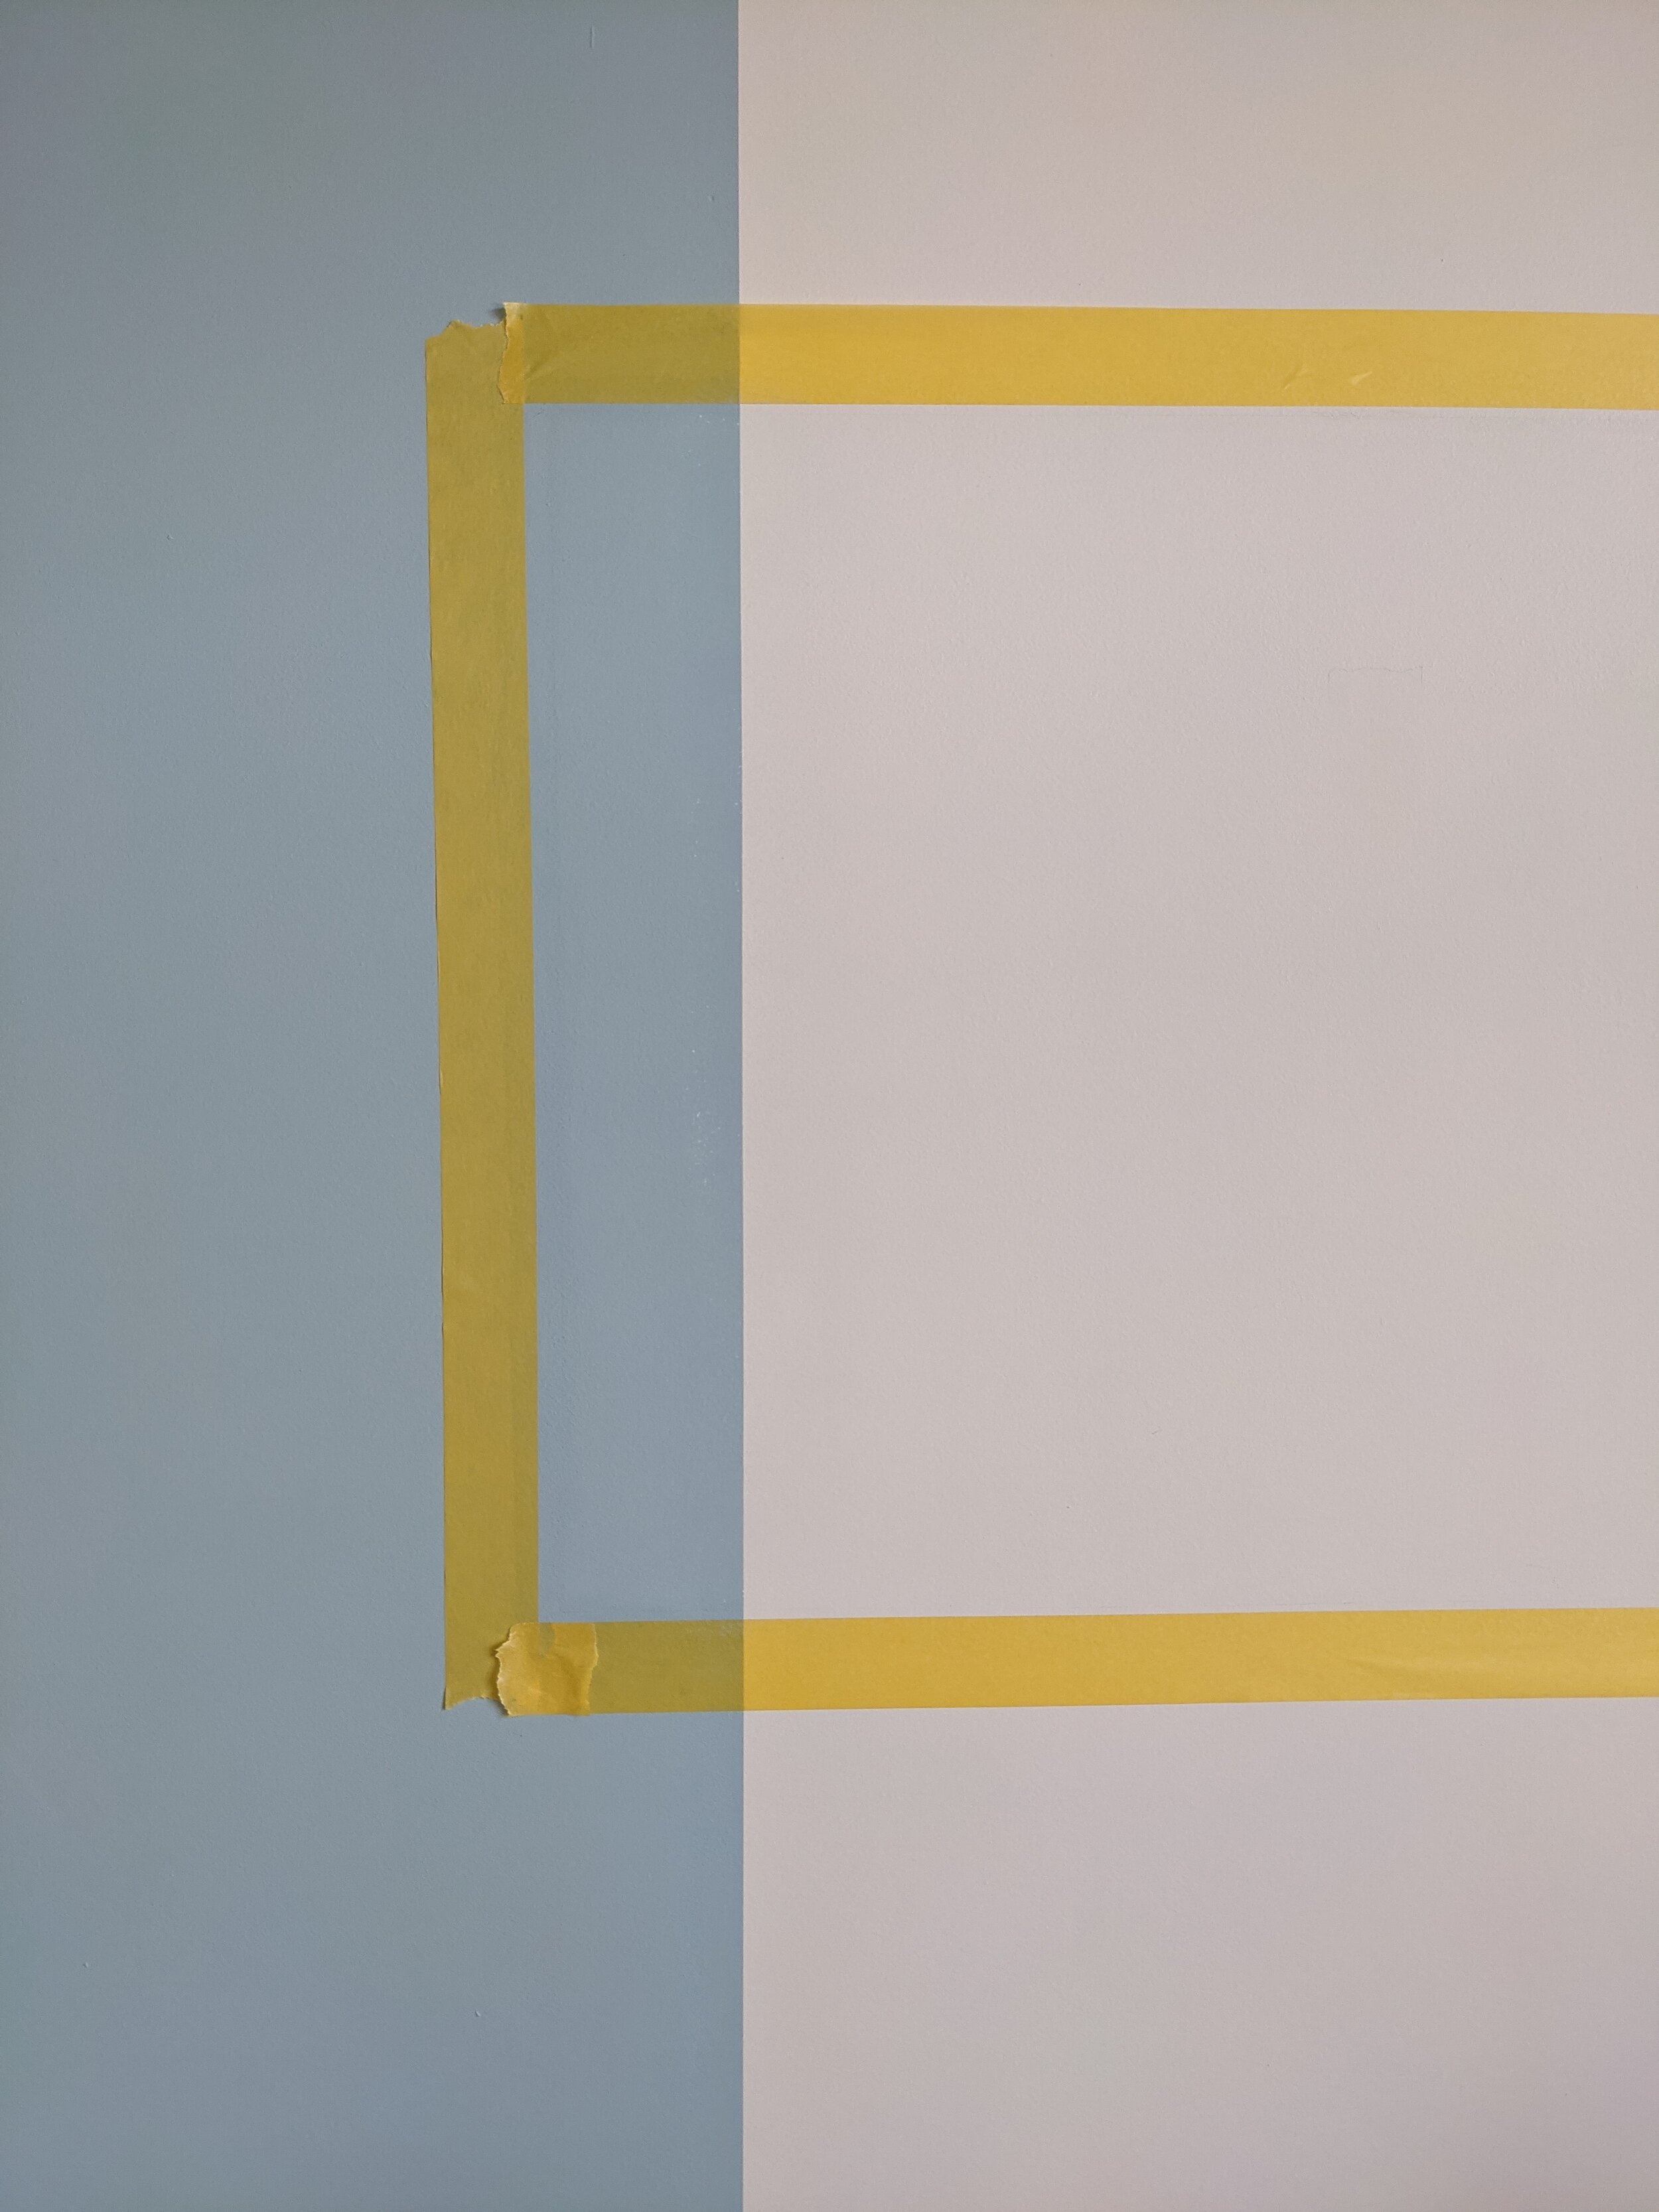
For the colour blocks, I used some paint I had left over from other projects and added to them with a couple of samples. Getting creative with paint is a really affordable way of adding interest to a space. Read all about How to Colour Block in my blog post.
After - Final Reveal
And here’s the finished room!

I’d found the cobalt blue bed frame in Habitat a few months earlier. It was originally over £200 but had been reduced to just £90. Love it when that happens!

The window frame is painted in Benjamin Moore’s Nightfall. Painting it black has given the space a more contemporary feel and the black stripes in the rug draw the eye up towards it. I chose a black roller blind to blend in.

I love this little corner - it’s got a really happy feel. It reminds me of holidays. All of the cushions were from Habitat and so was the throw.

I colour blocked the orange square and then bought an Umbra conceal shelf to create a floating book feature. I’d had my eye on the Mustard Made locker for ages - it ties in perfectly with the green ben chair at the desk.

When we originally renovated, we had the desk and wardrobe built into the recess and built the wall out above them so it looks like they’re built into the wall and the room has a nice rectangular shape (it’s a bit hard to explain - you can see what I mean in my first blog post about the two front bedrooms!). I painted them the same colour as the walls for a seamless finish.


Jack obviously has lots of fun turning the hand around 🙄

The two hanging men are attached to some retro hooks that Oliver found in a pop-up shop in Leeds (good husband). I created a gallery wall using lots of things we already had, and of course added a couple of obligatory gaming prints.
So there you go! A lovely room for a tween - grown-up enough not to be childish but with some fun elements mixed in. I hope it keeps him happy and uplifted throughout his teenage years.
I’d love to know what you think. Let me know in the comments below!
To see our younger boy’s Star Wars bedroom before and afters, click here.
I’m a Halifax based interior designer and I cover surrounding areas, including Leeds and Manchester. I also provide a remote interior design service. If you’re starting a project and need some help or inspiration, please get in touch.