
Dark Green Boy’s Room - Final Reveal

I started working on this little boy’s room last summer and I’m very excited to share the before and afters with you!
This house is very close to where I live and the lovely clients had moved in a few years earlier. They’d given their little boy’s room a quick lick of paint and installed a built in wardrobe in the alcove. Now he was six, he wanted a more grown up space. After the initial consultation, they decided to go ahead with a full room design. Although they were initially planning on project managing it themselves, they found they had too much on with work and life so they asked me to coordinate it all.

Before
The room is east facing which means it only gets a lot of natural light in the early morning so the existing blue wall colour looked quite cool at other times of day. The only thing that was staying in the room was the built-in wardrobe.
As with all young children’s rooms, it was packed full of toys, many of which he no longer played with. They had a good clear out before we started.
The Interior Design Scheme
Because of the orientation of the room, we decided to embrace the dark and go with a strong colour on the walls, with bright accent colours to bring it to life and lots of texture for cosiness. The green wall colour was inspired by the lovely wallpaper - it was from Wild Hearts Wonder which is sadly no longer in business but for other wallpaper ideas, take a look at my blog post about Little Greene’s Storybook papers - they’re perfect for kids’ rooms.

Detailed Design board
The most important thing on the little boy’s wish list was a bedside table. I looked at several different room layout options but because of the positioning of the window and wardrobe, none of them allowed for one. So what do you do if you can’t fit a bedside table? Make an ‘above the bed’ table instead! The alcove on the right is really deep so I decided to have the wall built out slightly at the bottom with a little cupboard built into it just above the height of the bed. Perfect for storing bedside table items such as books and random things that little boys always seem to accumulate.
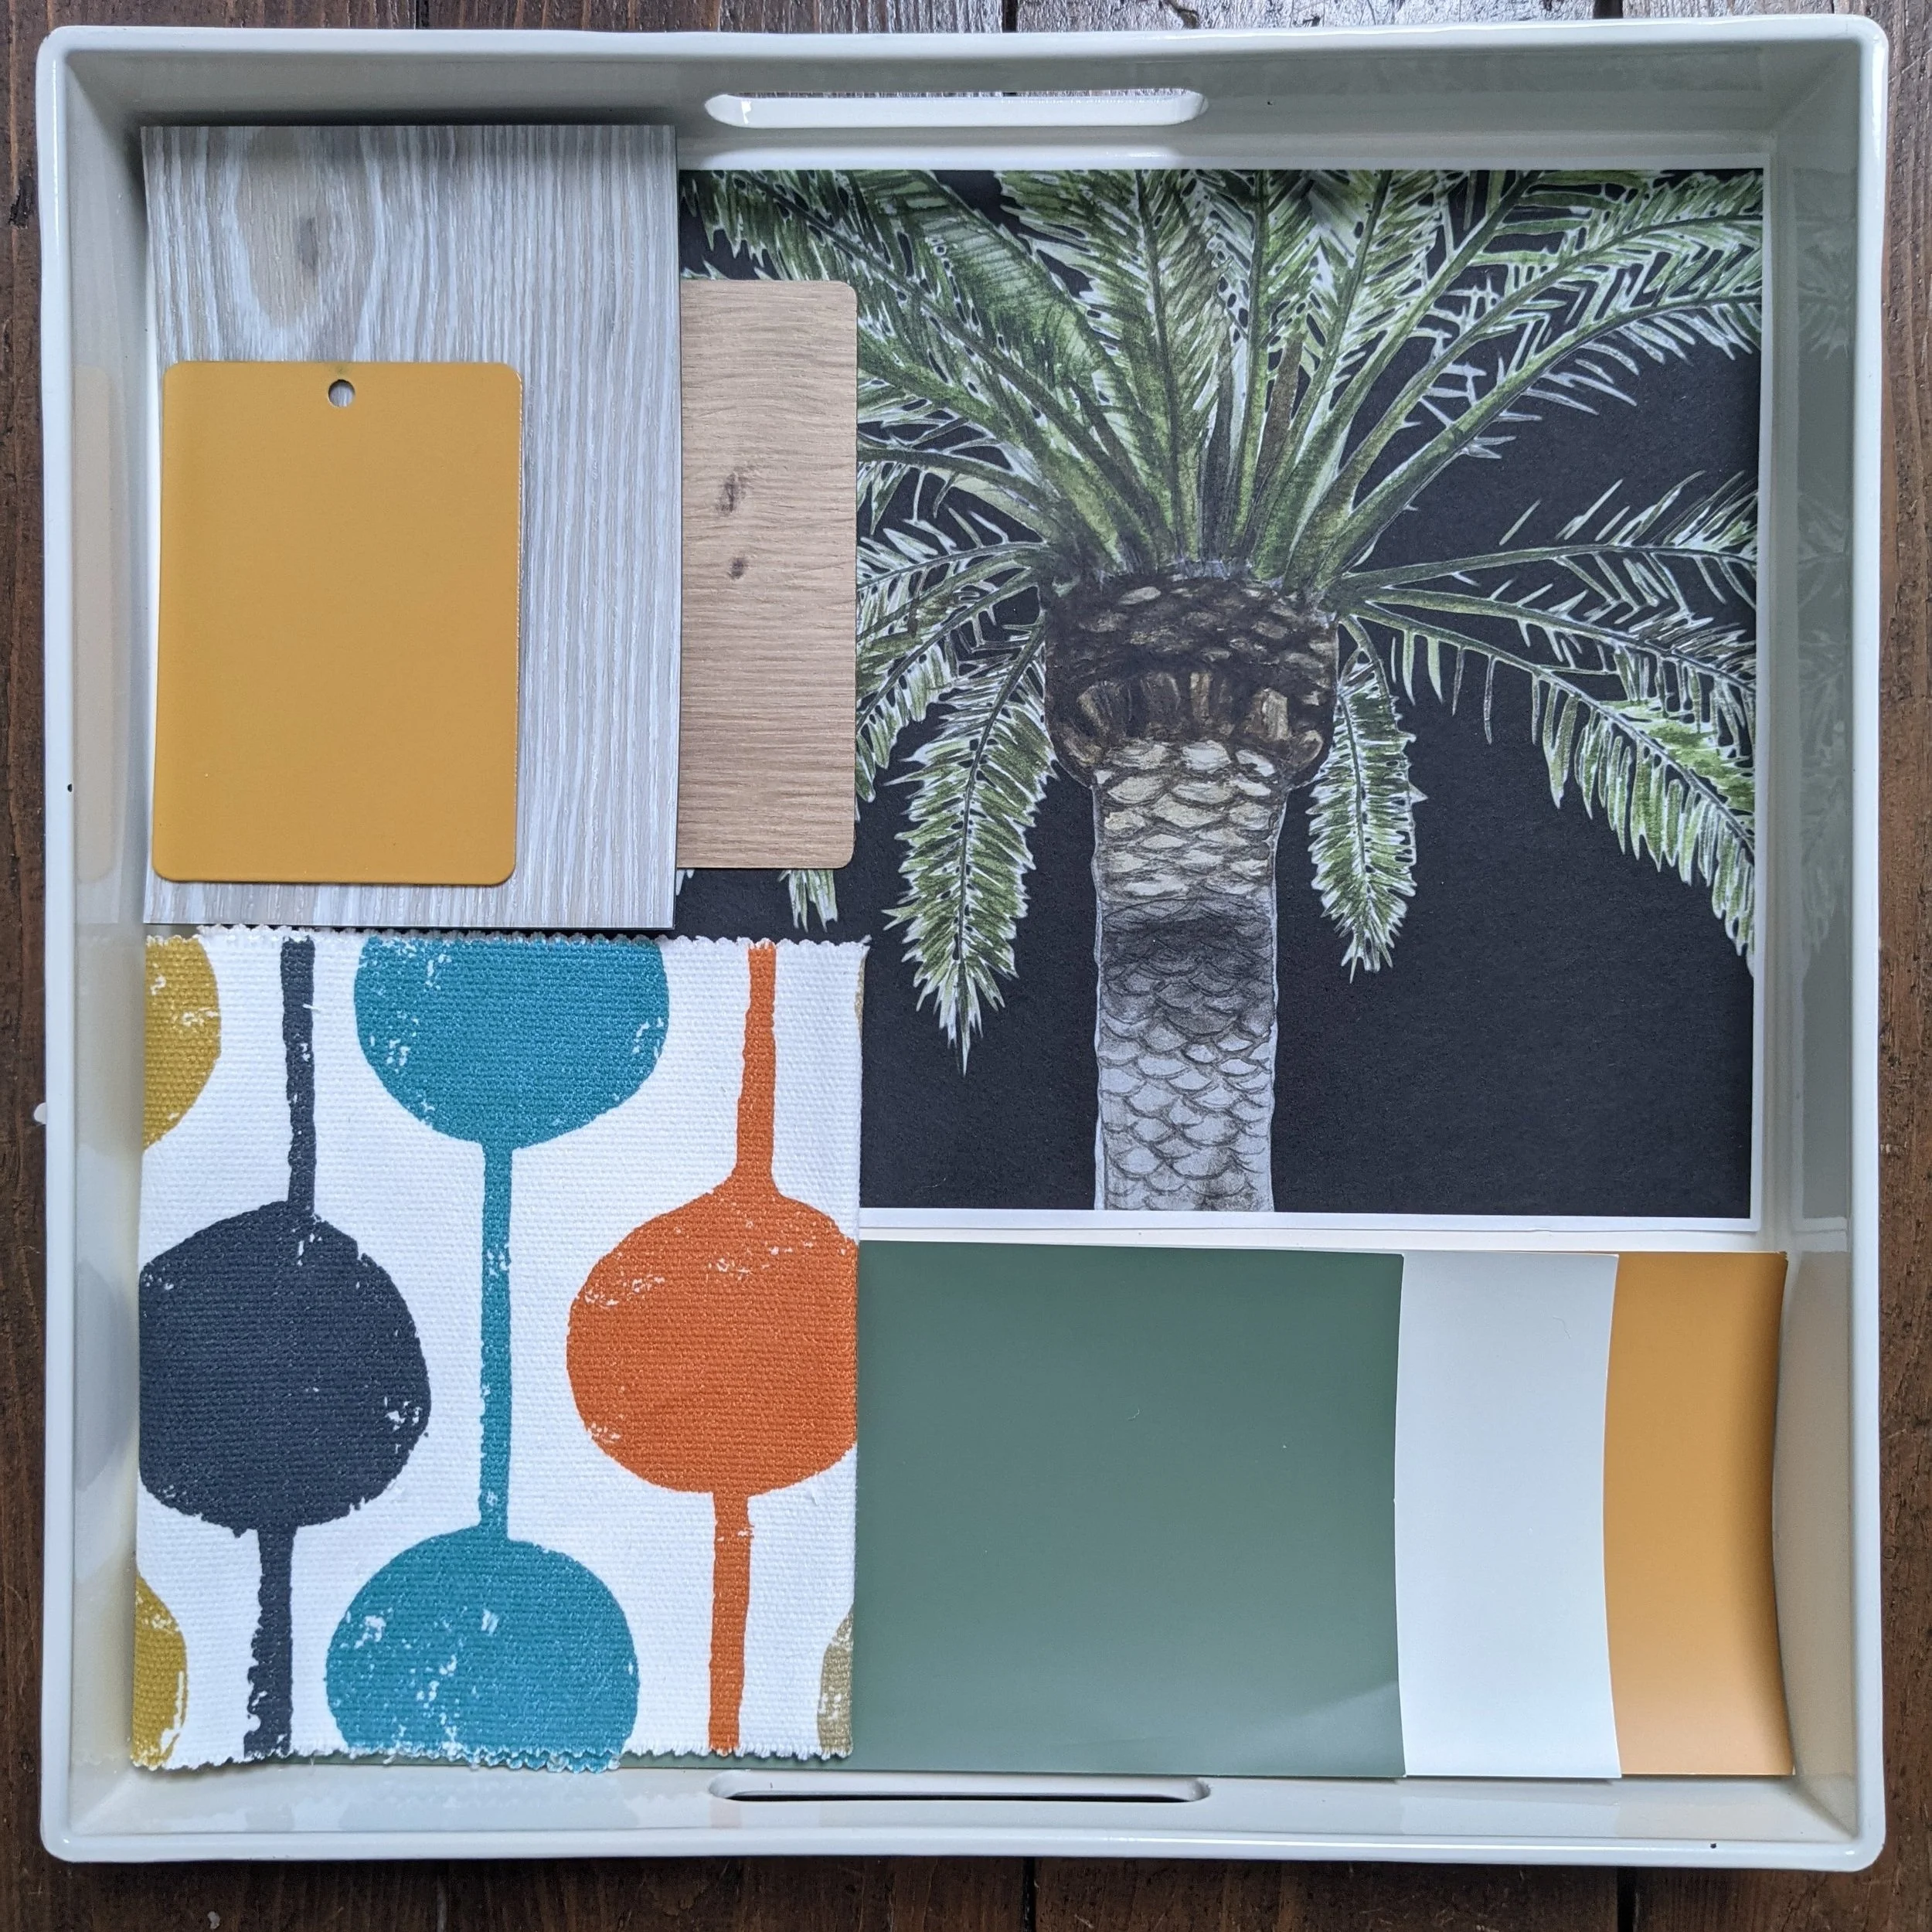
The sample tray - a beautiful combination of colour, pattern and texture.
Making the ‘Above the Bed’ Table (really need to think of a catchier name for this)


Frame up ready for boarding. We blocked up the fireplace opening too.

I made a slight change to the cupboard design so that it has an open section in the middle - handy for storing a glass of water and a book.

After
The palm tree wallpaper, natural textures and printed fabrics combine to create a cosy space, bursting with colour and pattern.

We painted the cupboard in Glowing Umber by Benjamin Moore. The wall lamp is from IKEA.
Clever Storage

Before

After
How great is the String Furniture shelving system?! If you need a space-saving solution for a child’s room, this is it. I sourced it from Funktion Alley who have a showroom at Red Brick Mill. You can choose your own configuration but this one combines a desk area, chests of drawers for clothes, a cupboard for toy storage and lots of shelving for display. It comes in several different wood tones but we went with a light ash finish. Pretty and practical.
The walls and woodwork are painted in Pinelands by Benjamin Moore. We painted the window frame the same colour as the ‘above the bed’ cupboard for a pop of bright colour. Because the ceiling is high, I chose a coordinating white - Hint of Mint. If it had been a room with a low ceiling, I would probably have painted it the same colour as the walls.
The Wardrobe Dilemma

Before
The existing built-in wardrobe has a foil laminate finish. The clients were a little nervous about painting it in case the paint didn’t adhere properly so I got hold of a sample of the laminate from the wardrobe manufacturer. After much research, I decided to experiment with two different primers - Benjamin Moore’s Stix, and Bullseye by Zinsser. I added a topcoat of Benjamin Moore’s Aura Eggshell on top of each primer and allowed them to cure.

And the winner was…..the Stix primer by Benjamin Moore. Although both were great, after a few scratch tests and looking at the overall finish, the Stix just clinched it. The adherence is amazing and it’s SO durable.

After
We painted the wardrobe the same colour as the walls for a seamless feel and to make the Mustard Made locker stand out.
Adding Personality

Before

After
We displayed a collection of old and new framed prints above the bed. Moles are the little boy’s favourite animal so I scoured the internet and found the mole print from Fy!

The pegboard from Block Design is great for displaying favourite items - and they can easily be changed around and added to.

Before

After
So there you go - a cosy room for a lovely little boy. The colour, pattern and texture work so well together in this space; it’s got such a happy, uplifting feel. Let me know what you think in the comments!
Take a look at the girl’s room I designed for these clients in my blog post here.
I’m a Halifax based interior designer and I cover surrounding areas, including Leeds and Manchester. I also provide a remote design service. If you’re starting a project and need some help or inspiration, please get in touch.
