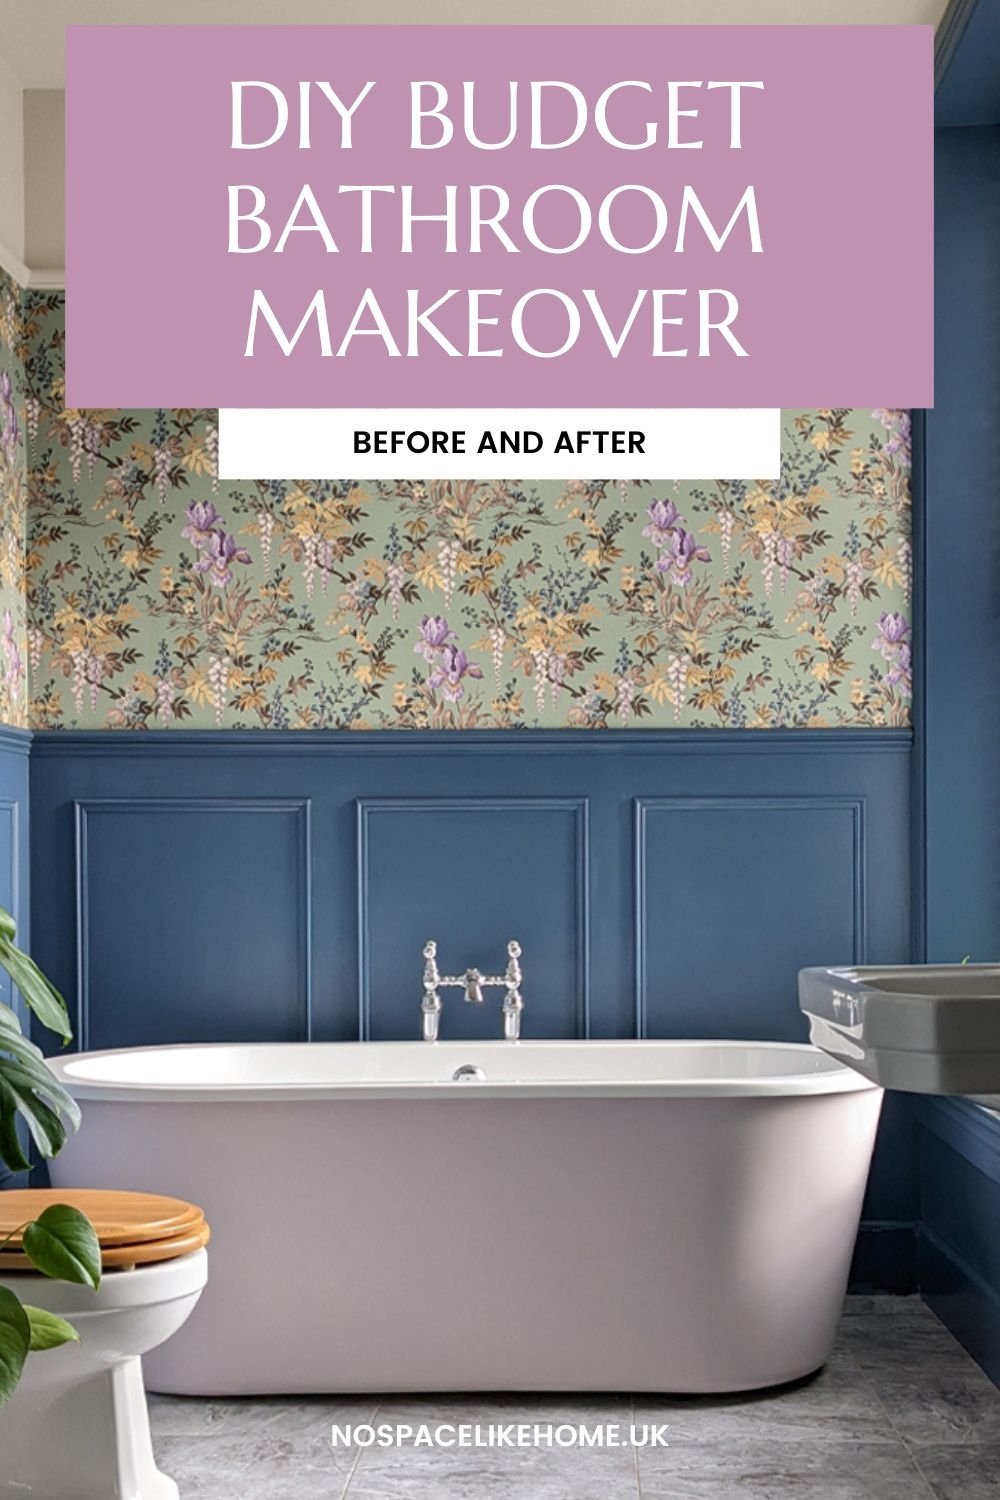
DIY Budget Bathroom Makeover

After
I’m very excited to show you the refresh of my mum and dad’s master bathroom! They moved in to their terraced house in a converted Victorian mansion in Halifax a few years ago. Everything throughout the house was very neutral - off white walls, beige carpets, grey tiles. They’ve been decorating it room by room, adding colour and personality. At the end of last year, they asked me how they could transform their bathroom in a cost effective way with a DIY bathroom makeover. My dad started his career as a woodwork teacher and he’s always on the lookout for a DIY project. He’s also the kind of guy who can’t sit down for more than five minutes so he couldn’t wait to get started.
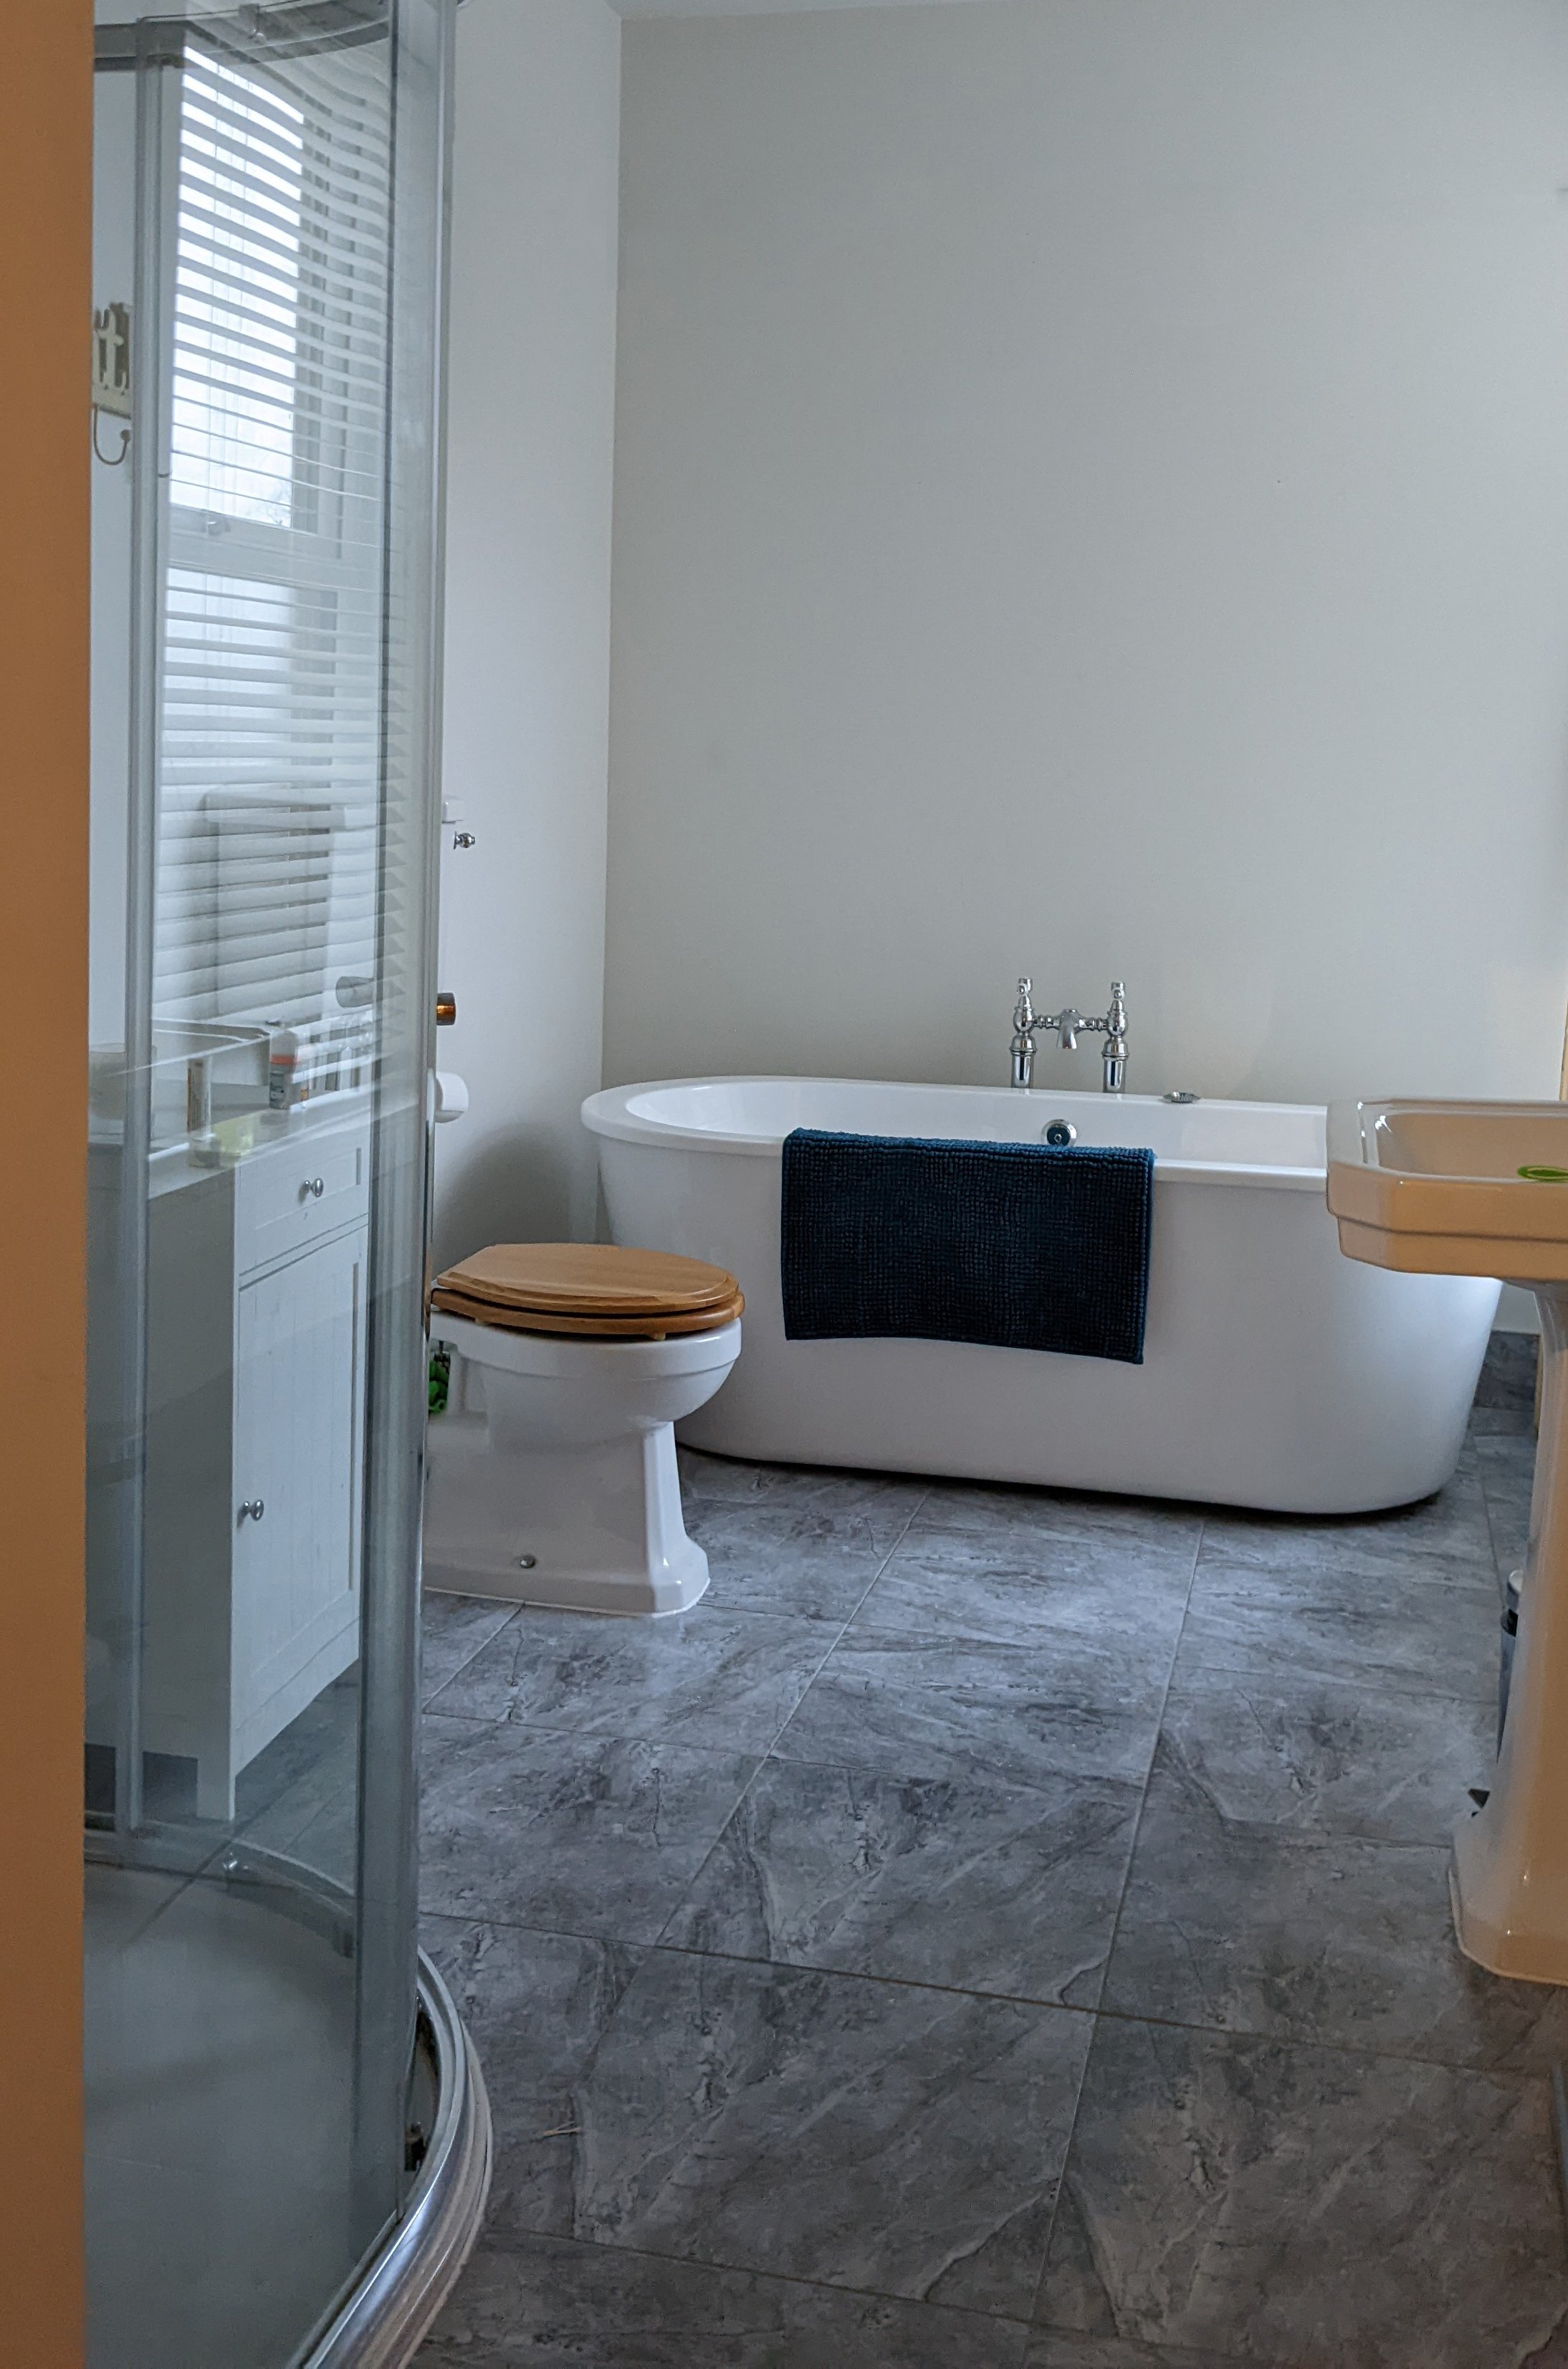
Before
Although there's the obvious saving on labour costs, even a DIY bathroom renovation can cost a lot of money but the existing bathroom here was in really good condition. The traditional style of the plumbing fixtures really suit the style of the house - I liked the wood tones of the toilet seat and I loved the shape of the bath. Ceramic tiles are a great option for bathroom flooring so we also decided to keep the existing grey tile floor and work with the existing marble effect shower tiles.
Affordable DIY Wall Panelling
We needed to add character with a limited budget so I set about thinking how we could achieve an updated look without new fixtures, new hardware or new tiles. As a first step, I focussed on the bathroom walls. My mum and dad loved the idea of wall panelling but didn’t want to go to the hassle or expense of taking out the sink and toilet to have the walls behind them panelled. For an inexpensive way of getting the look of panelling, I recommended that my dad use his DIY skills to simply stick pine moulding to the walls and add an MDF dado rail above. A cheap and easy way of adding lots of character!
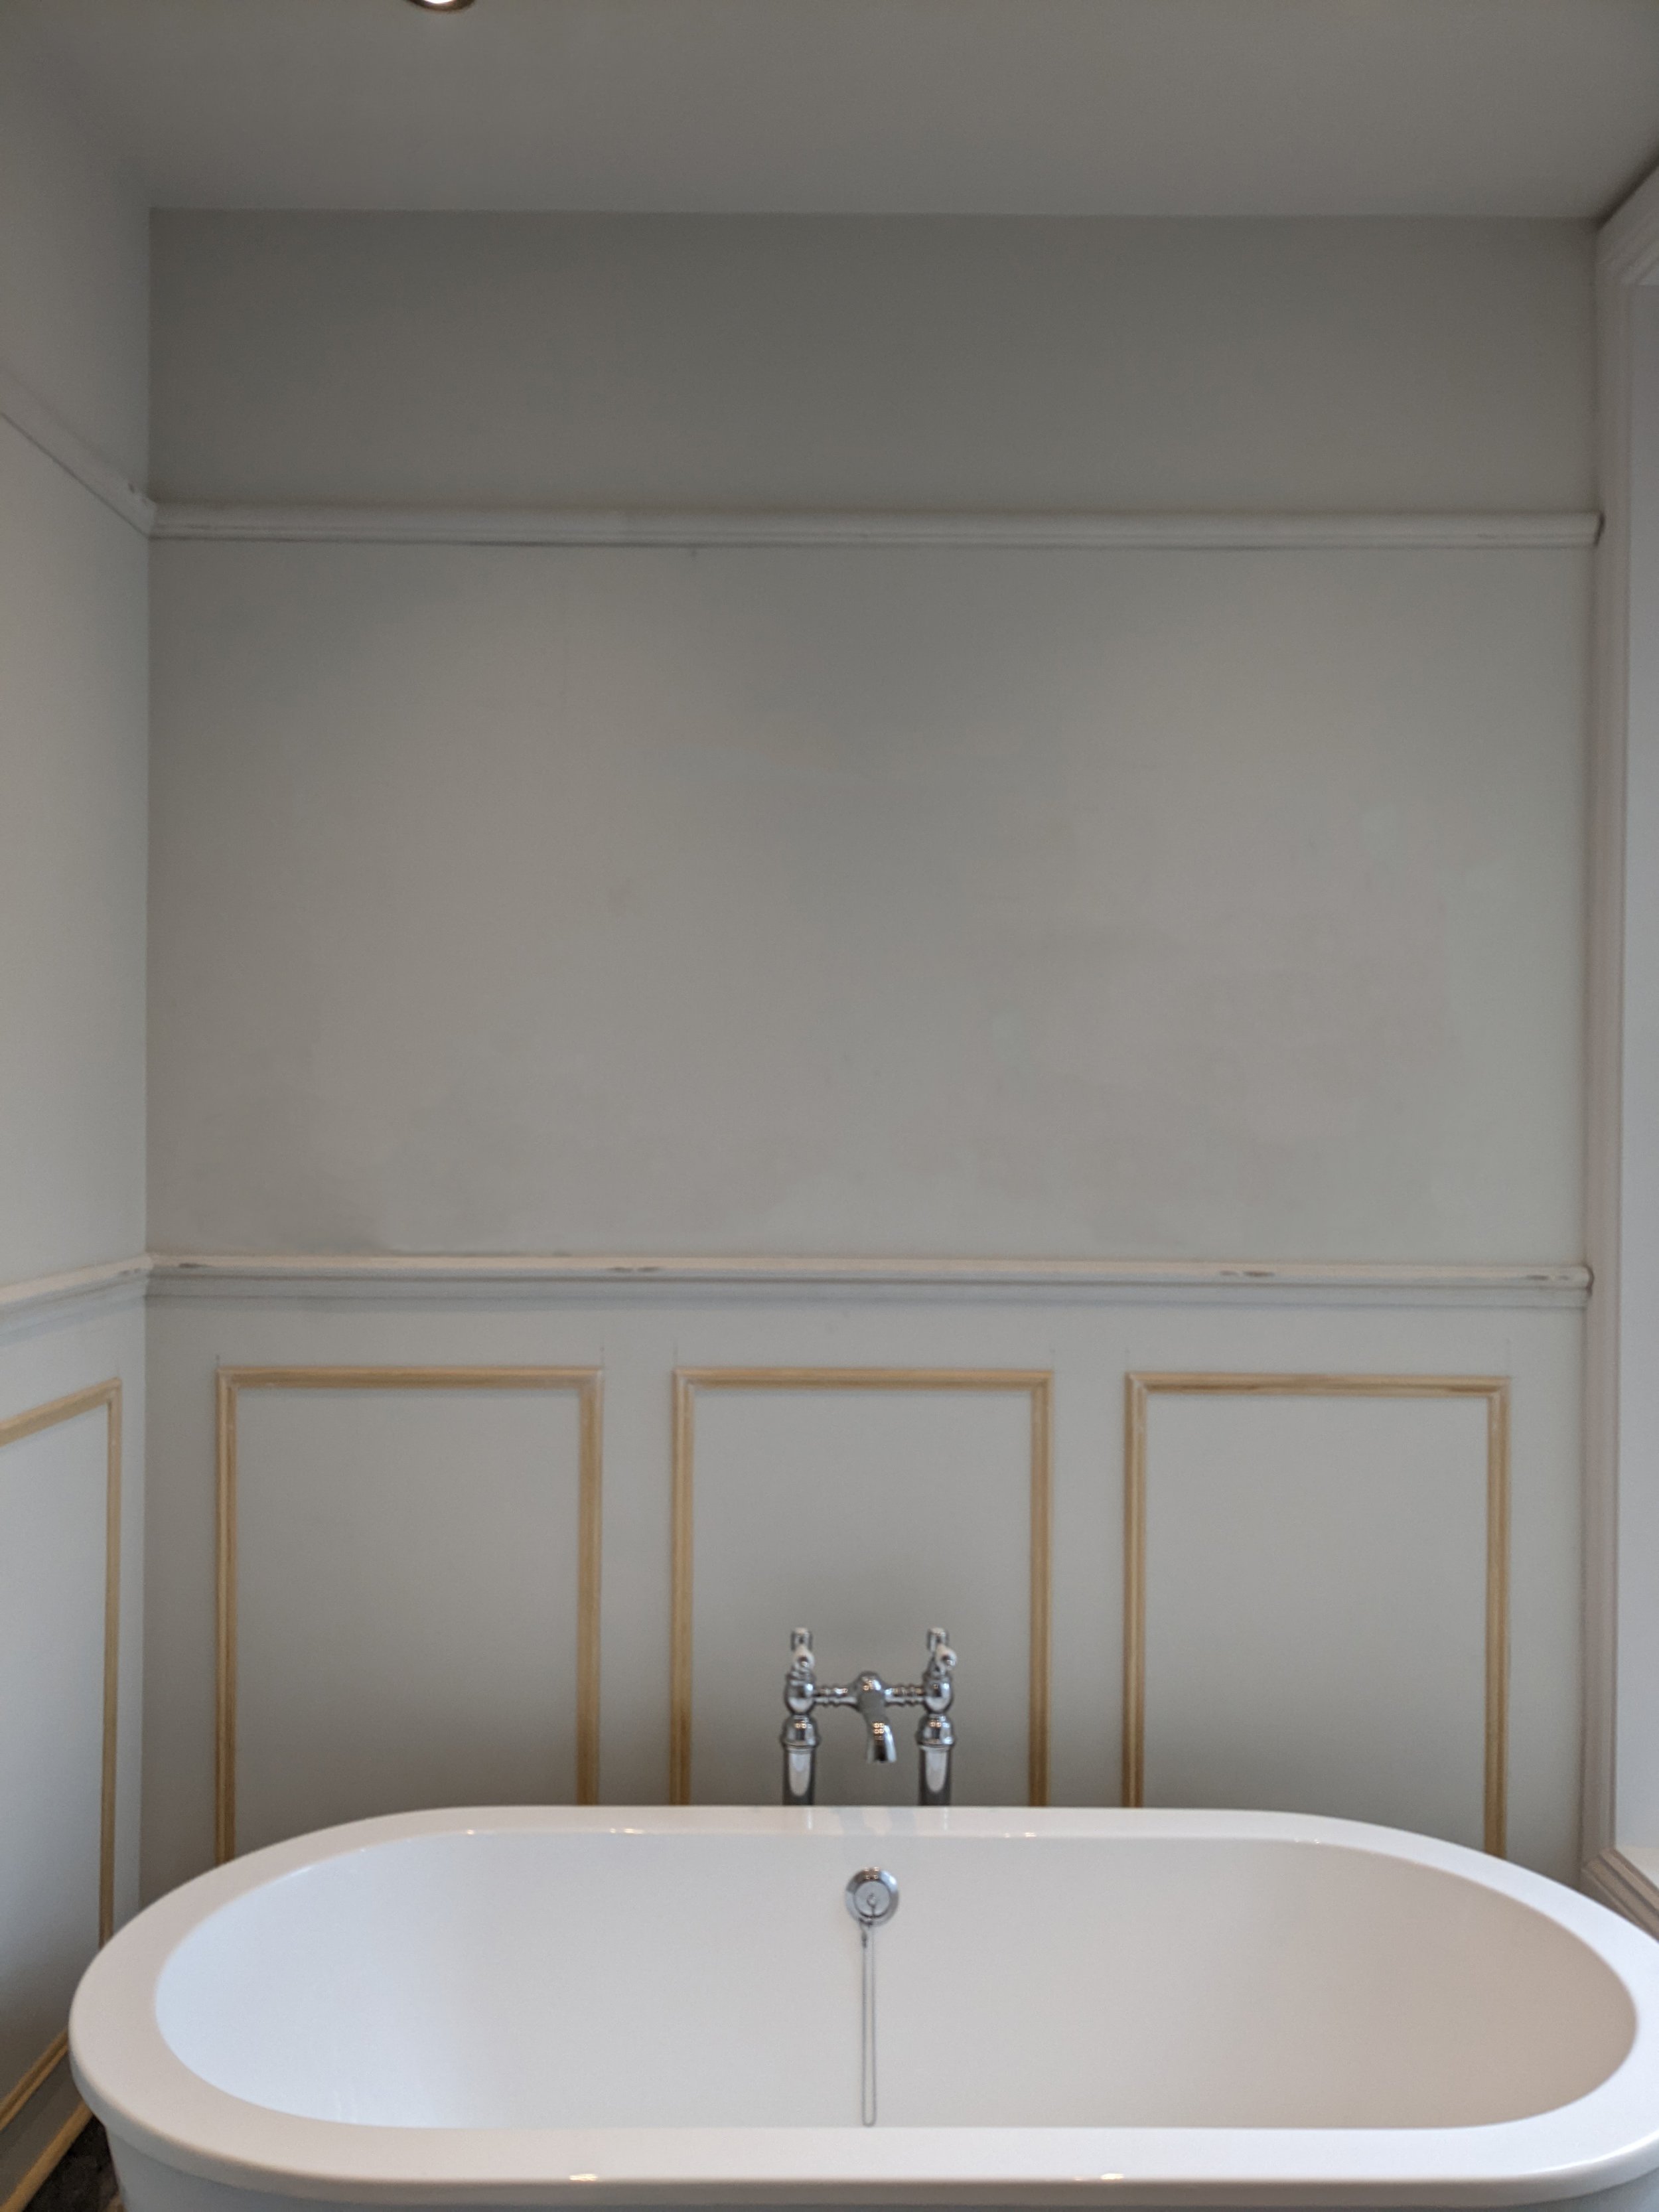
During
The first thing we did was to create three, equal sized panels behind the bath. We used the 28 x 9mm Richard Burbridge panel moulding and the 44 x 18mm primed white MDF dado rail from B & Q.
The existing tiles in the shower enclosure don’t reach the ceiling so by also adding a picture rail, it meant that we didn’t have to wallpaper above the steamy shower area. This made the wallpaper much cheaper too because we needed less of it.
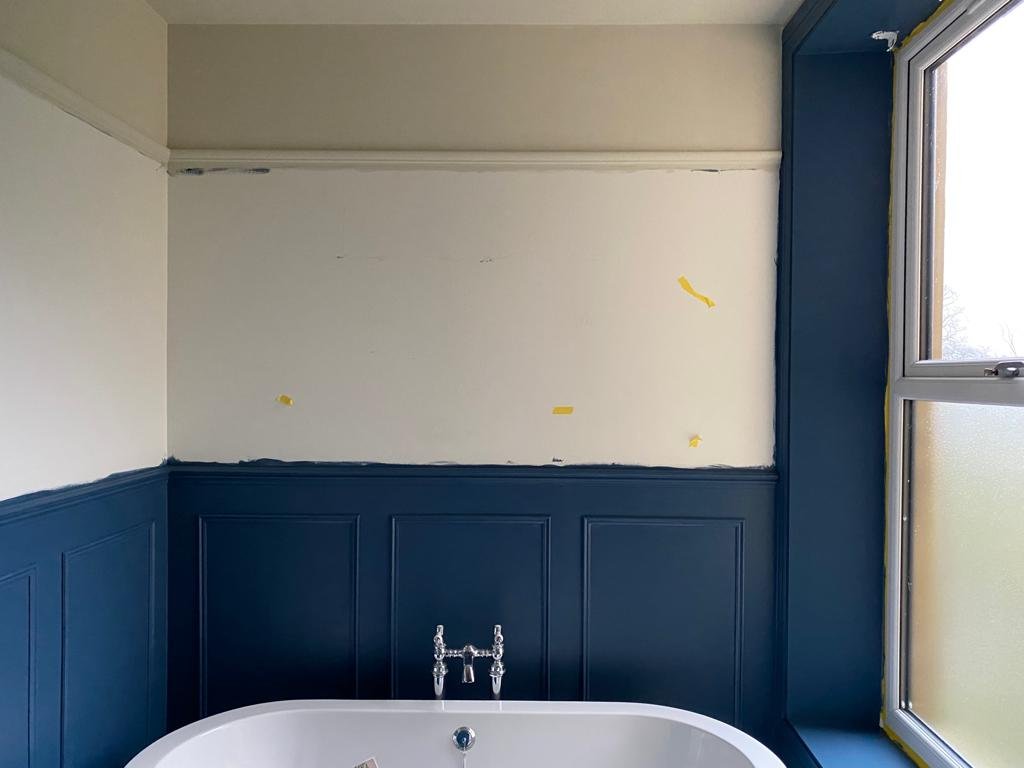
I often say that one of the cheapest ways of creating a fresh look is with paint. We painted the panelling in Hicks Blue by Little Greene and the ceiling is in Magnolia by Woodchip & Magnolia. If you’re struggling to choose paint colours for your space, you might find this blog post useful.

Incorporating wallpaper into a design is a great way of adding personality. The beautiful Hestia wallpaper in Wild Garlic by Woodchip & Magnolia is so beautiful with its calming pale green backdrop - perfect for a bathroom. The lilac and blue accent tones work brilliantly with the blue wall panelling.
The large window lets in a lot of natural light and we kept the existing white venetian blind as the window treatment.

There was already a tiled skirting in here but we really needed a skirting board to get the look of traditional panelling. As a cheap and easy solution, I suggested adding a strip of beading above the existing tiled skirting and filling the grout lines. We then primed it in Zinsser BIM primer and painted it in the same colour as the panels to create the look of a skirting board.

We didn’t want the toilet to hide any of the wallpaper so the height of the dado rail was determined by the cistern height. We created a lower panel behind the toilet and then primed the beading.

After

After
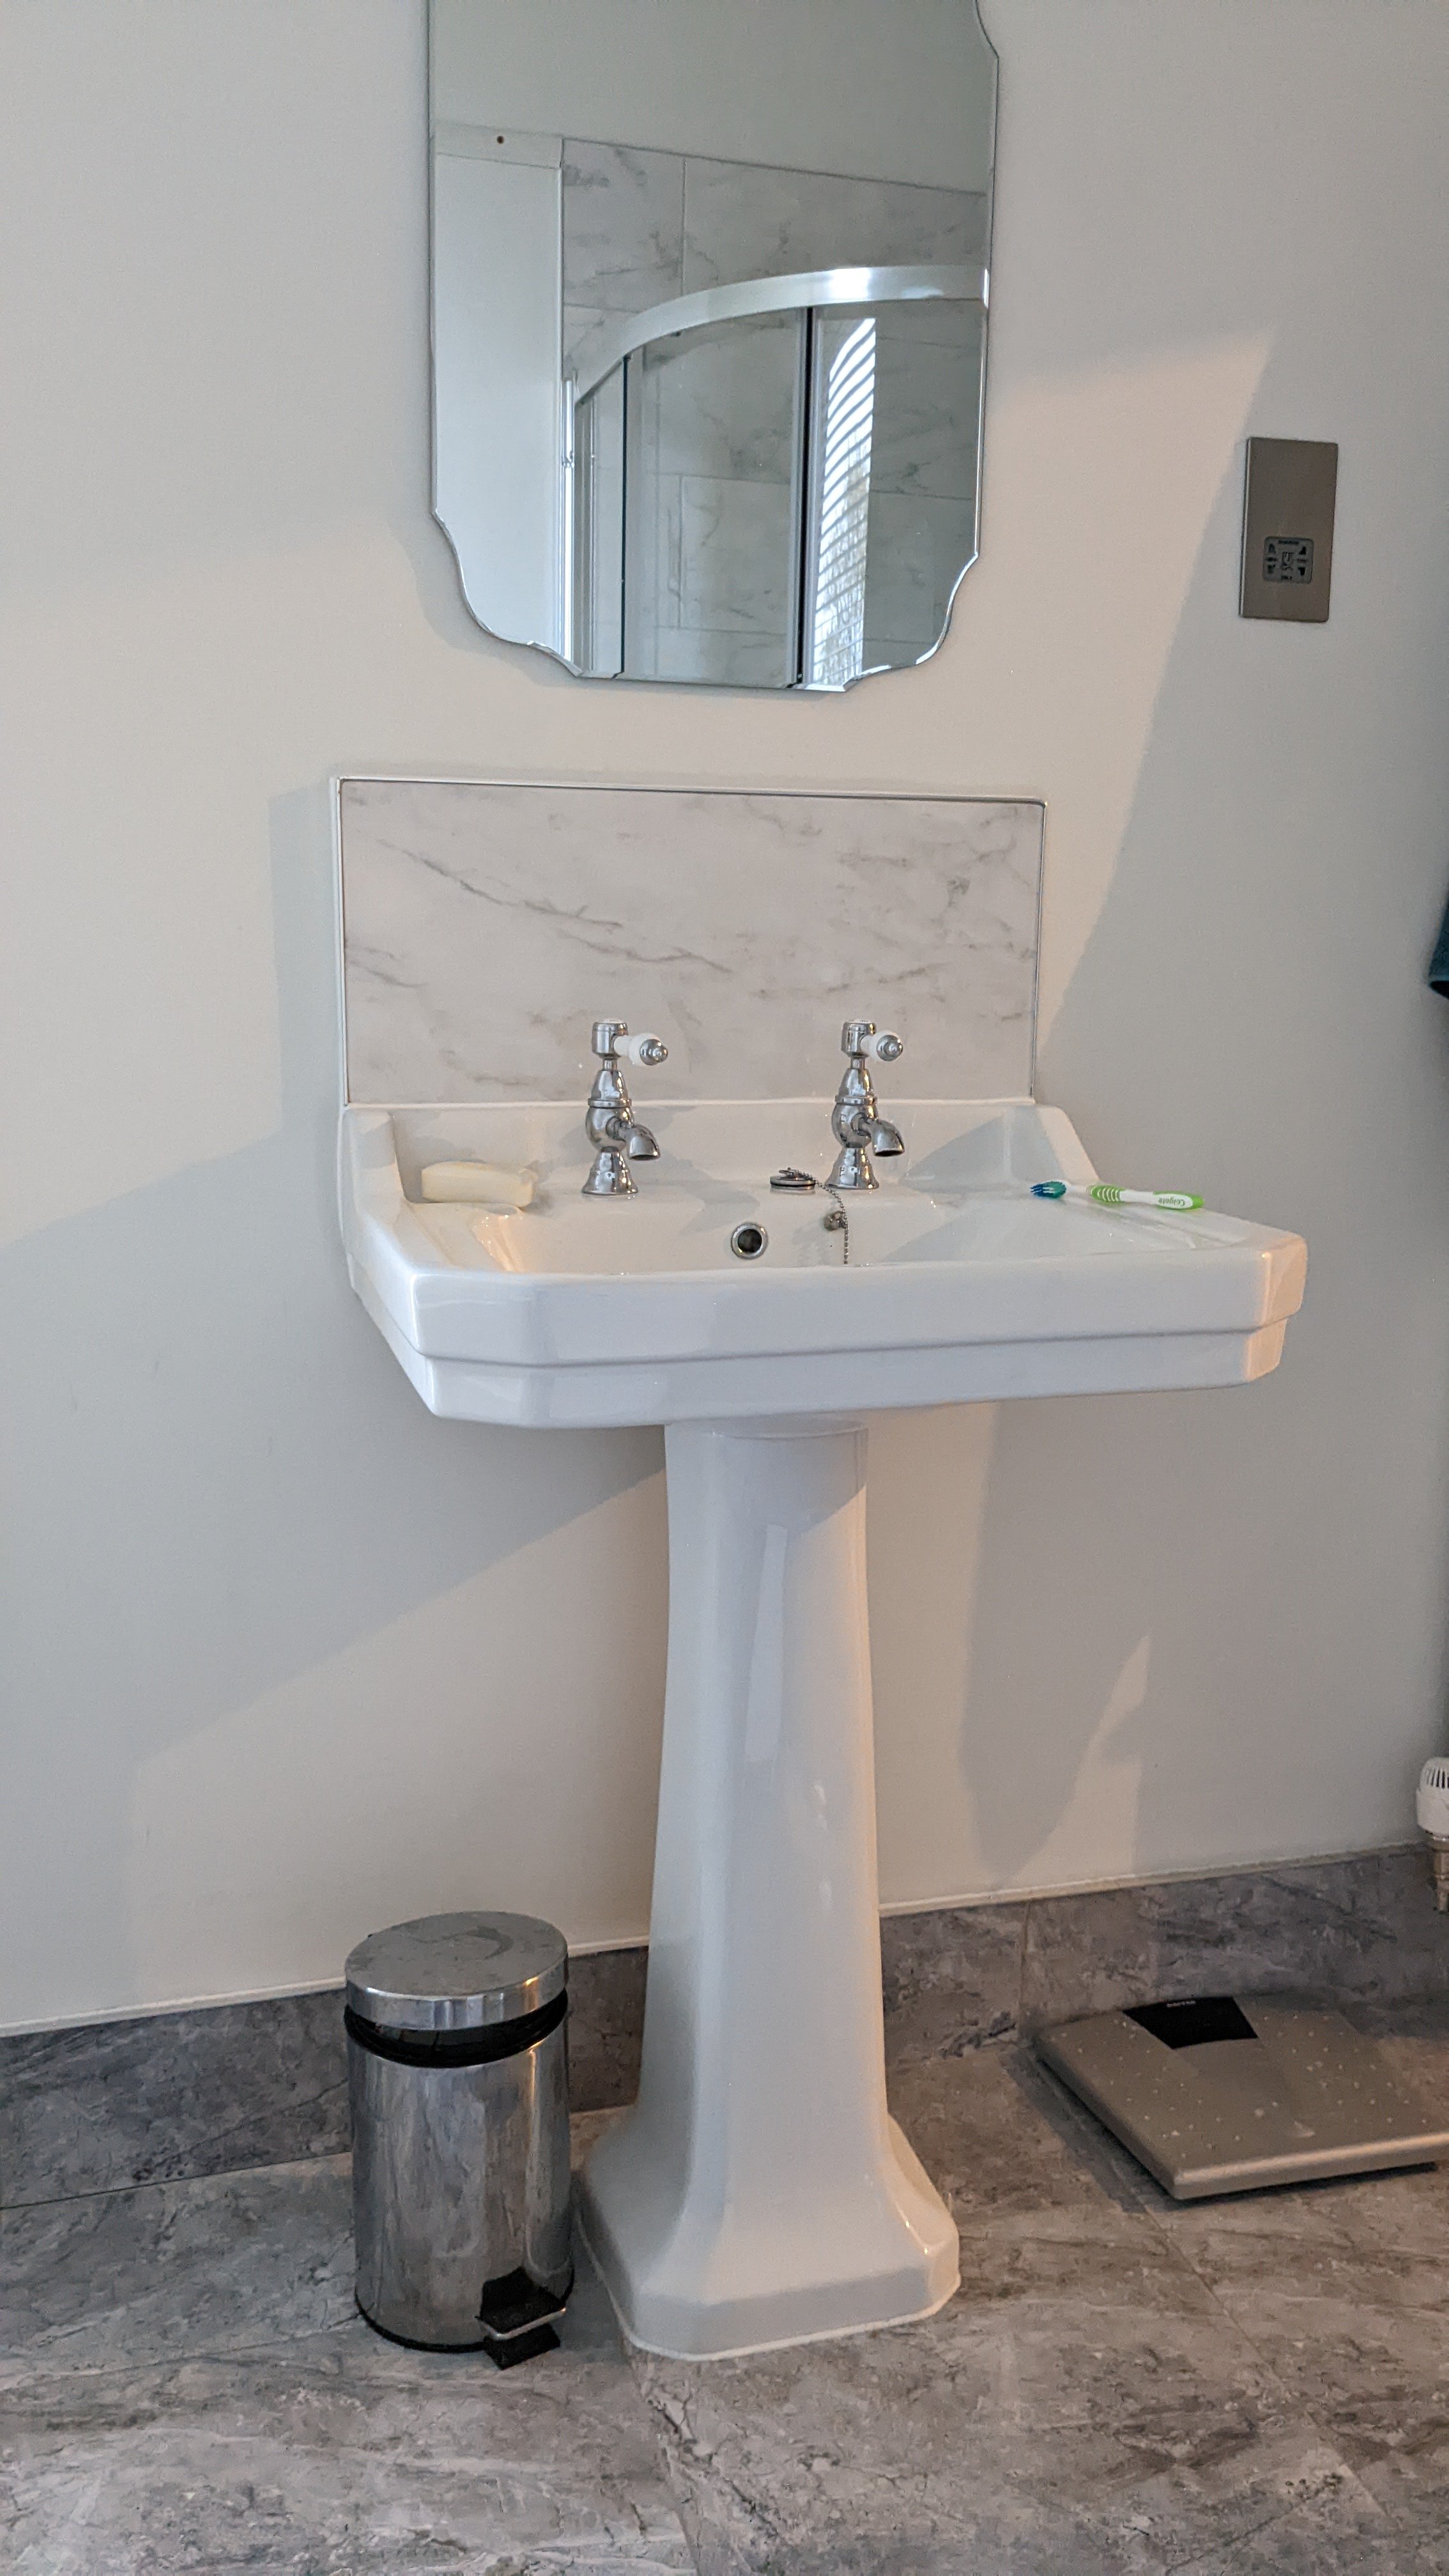
Before
Because this bathroom isn't used by a family, we didn't need a bathroom vanity unit for storage. The tiled splashback from behind the existing sink was removed, and the wall was sanded and filled.
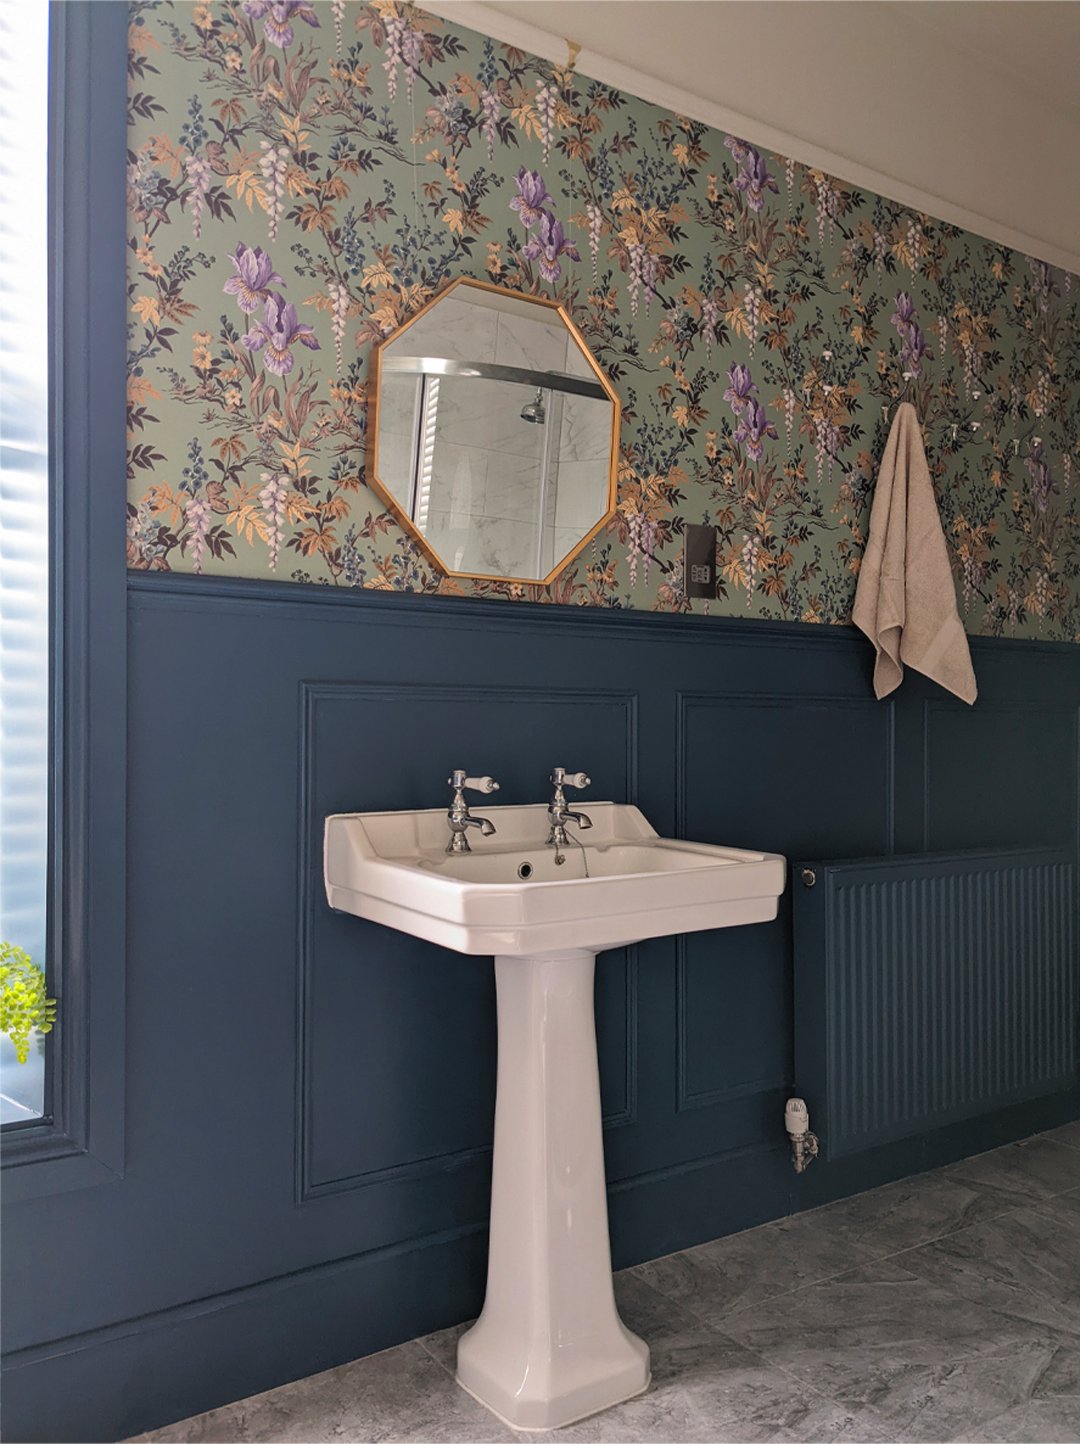
After
We built a panel around the existing sink and painted the radiator the same colour as the wall panelling so that it blends in. For the finishing touches, we hung a hexagonal mirror from the picture rail and I chose new hand towels in a neutral colour.
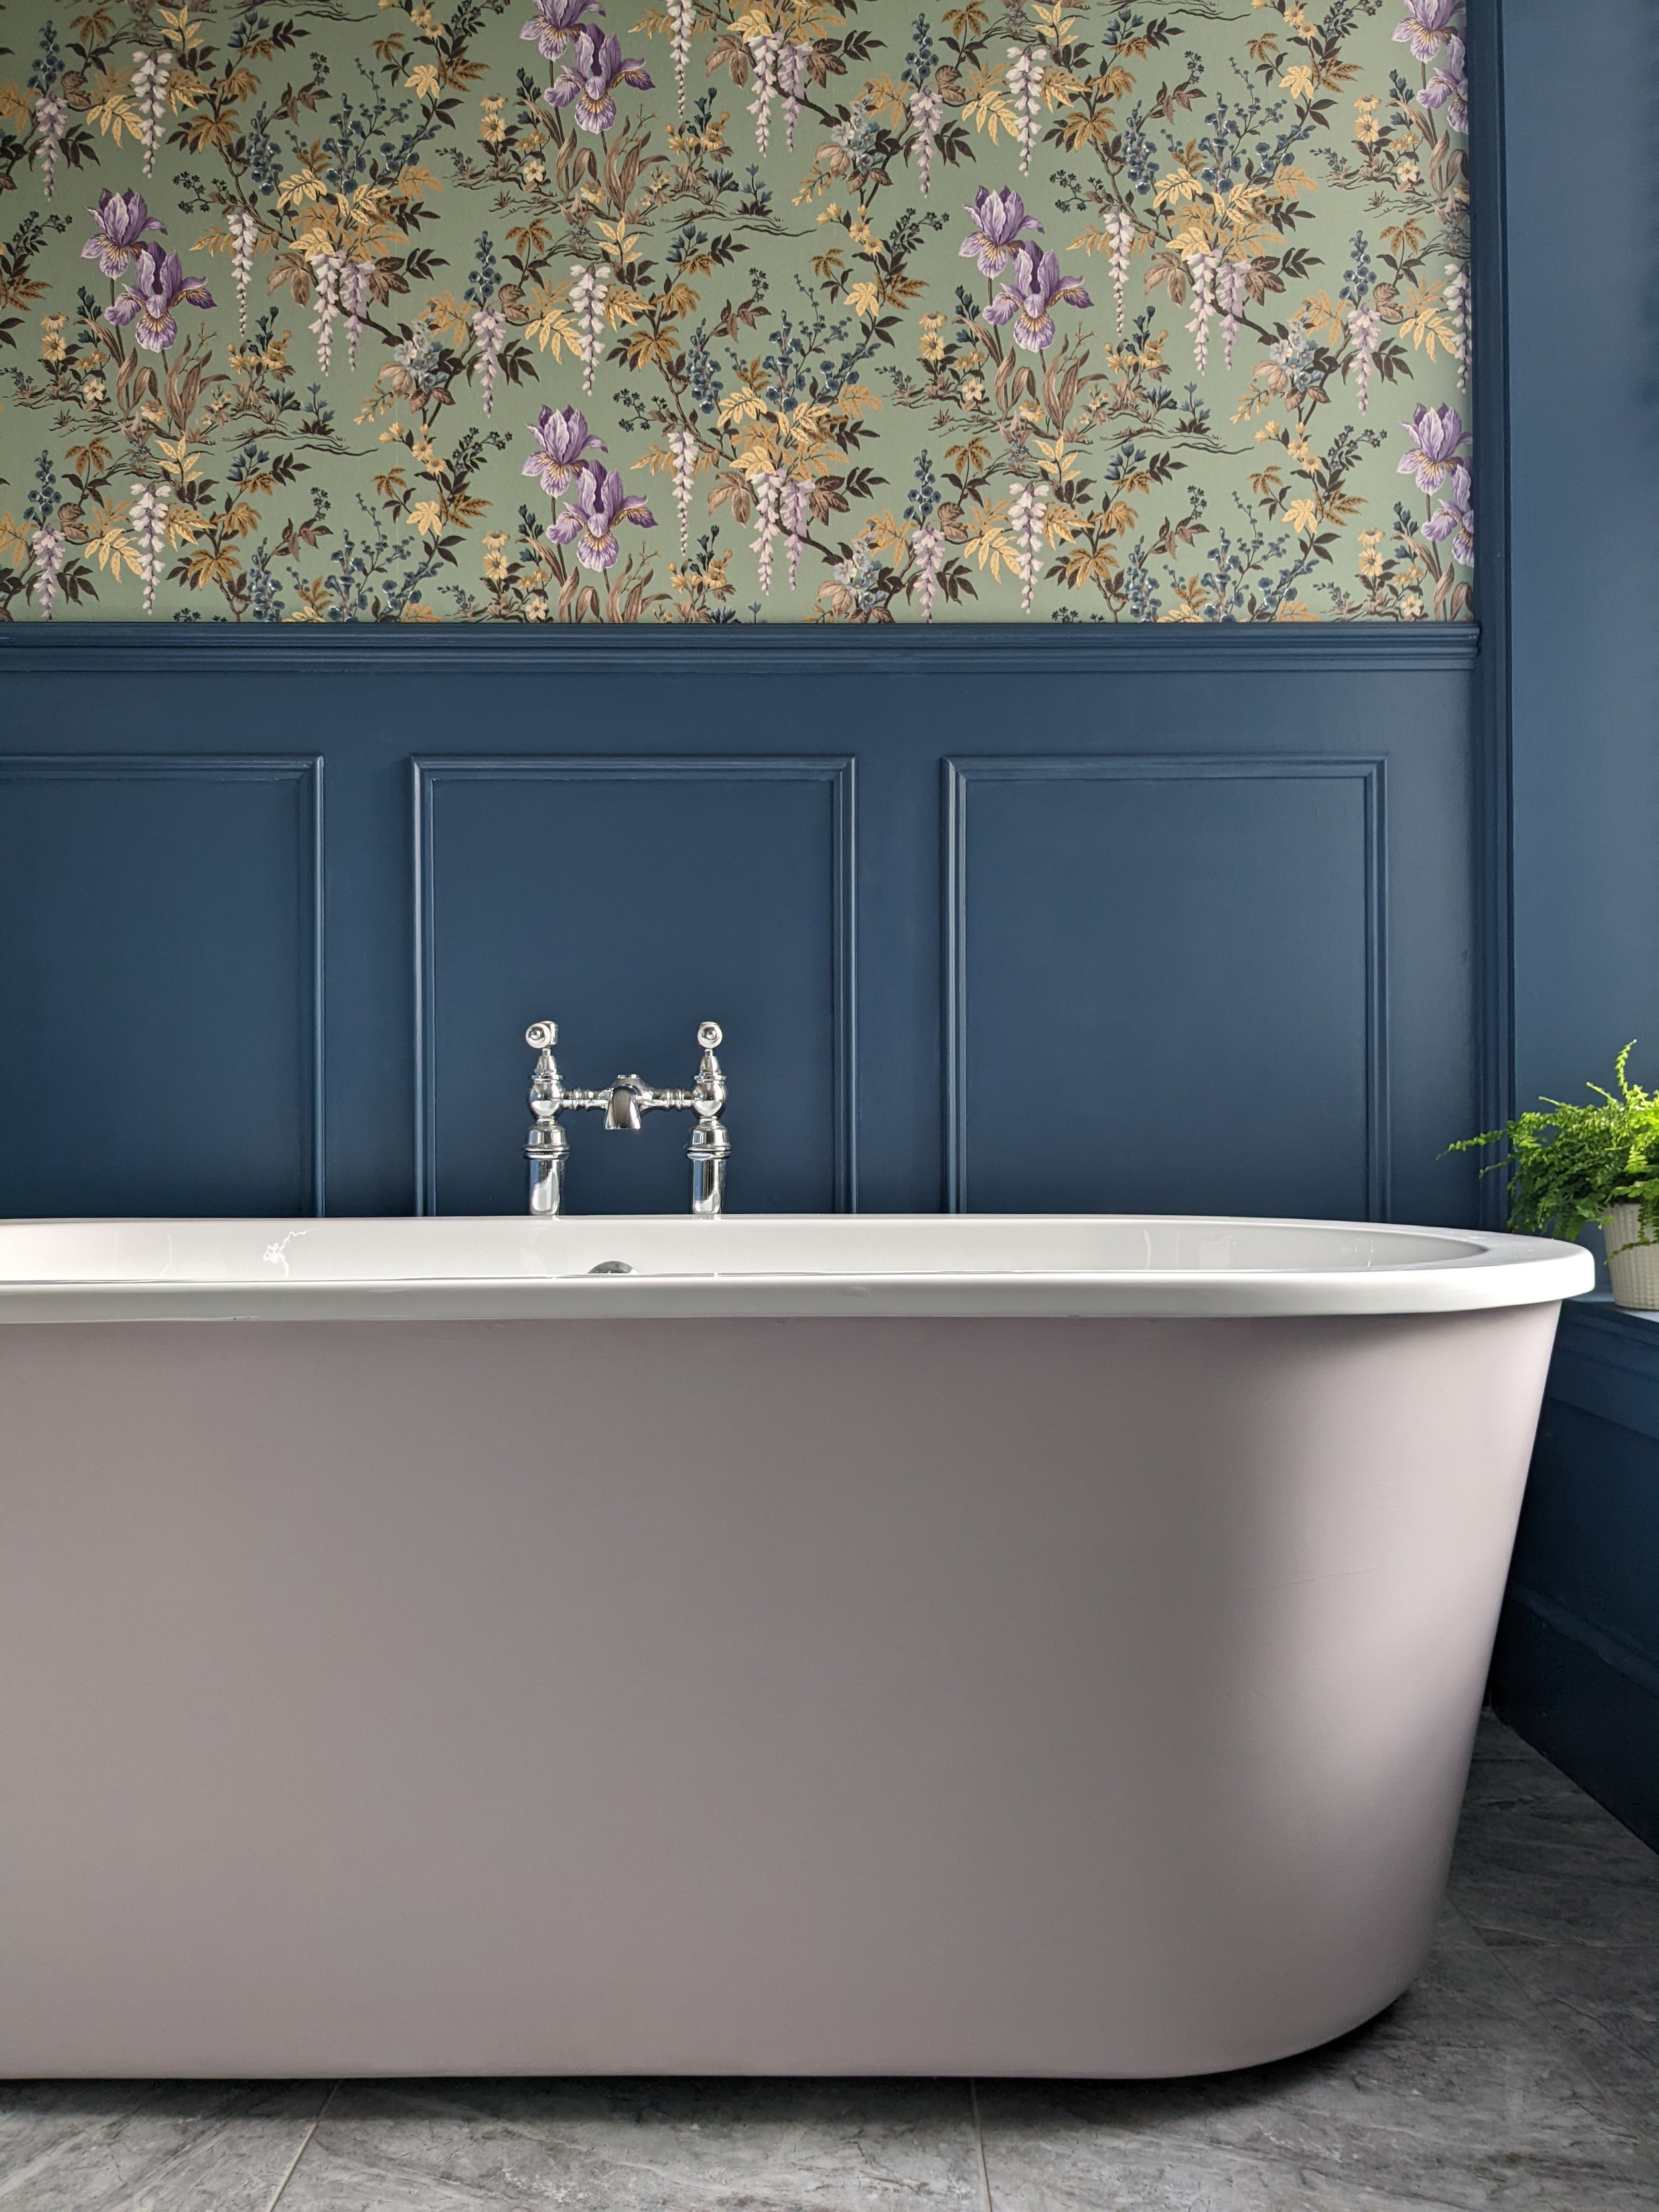
The acrylic bath is painted in Dorchester Pink Mid by Little Greene - a subtle cool pink that matches the pink tones in the wallpaper. So pretty! I had already painted a bath on one of my previous projects and you can read about the process here.
The total cost of this refresh was really affordable at just under £500:
MDF - £140
Paint - £120
Wallpaper - £170
Mirror - £65
TOTAL - £495
So there you have it - a budget bathroom makeover that's created a whole new look! It's amazing the difference some DIY panelling, a fresh coat of paint and some pretty wallpaper has made. I hope I've given you some ideas for your own DIY bathroom remodel! Let me know what you think in the comments.
I’m a Halifax based interior designer and I cover surrounding areas, including Leeds and Manchester. I also offer online interior design packages. If you’re starting a project and need some help or inspiration, please get in touch.