
Cottage Bathroom Reveal - How we Created a Luxury Look on a Budget

Today, I’m showing you the final reveal of a bathroom design that I did for a cute 17th century one-bed cottage in Halifax. I'll also be sharing cost effective ideas on how to create a luxury bathroom without spending a fortune.

Before
This is the house’s only bathroom and is accessed via the adjoining bedroom. The client had lived here for a couple of years and had refreshed the bedroom but the bathroom looked dated and tired. There were also issues with ventilation so she had already arranged for a good extractor to be fitted and the ceilings to be re-skimmed. She knew the look she wanted but wasn’t sure how to achieve it.
The Layout
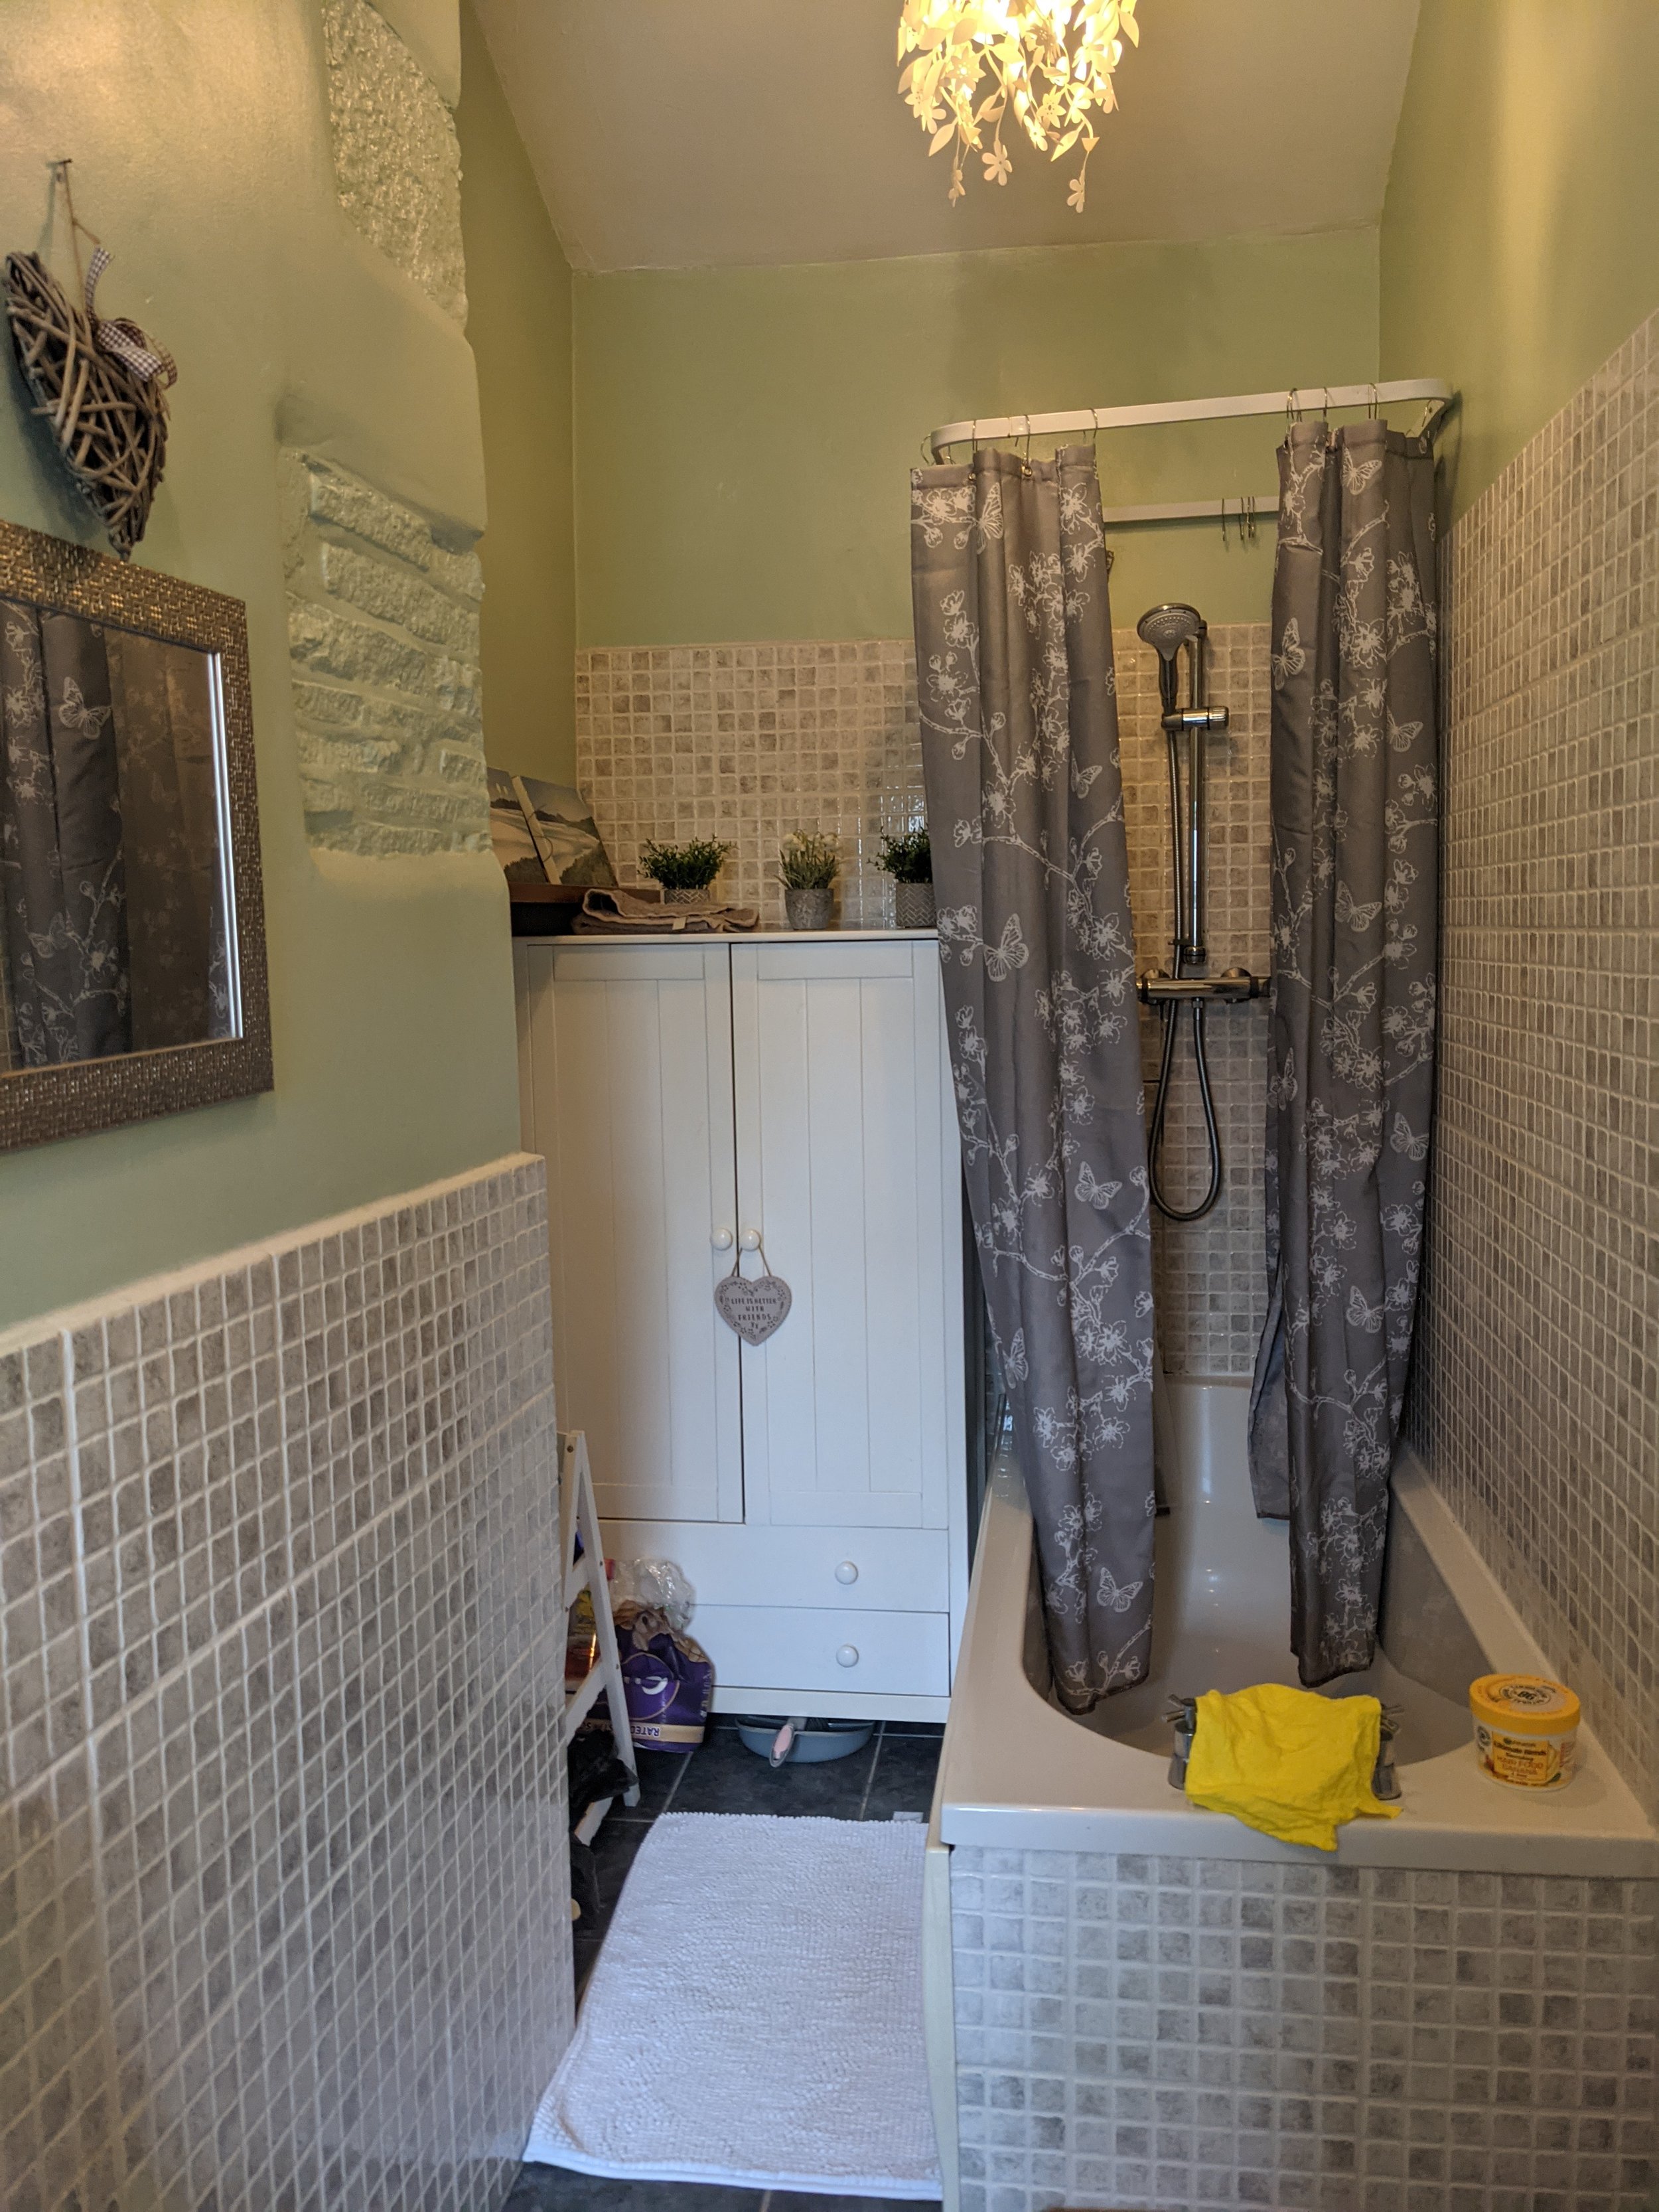
Before
Although there's a decent amount of floor space, this room was a tricky space to design because it’s long and narrow, and it also has quite a wide chimney breast. The bathroom's original layout really wasn’t working. Everything felt a bit cramped, and the space between the bath and chimney breast was tight. The client tended to have showers rather than baths anyway so we decided on a large shower tray, spanning the whole of the back wall. The size I chose meant that there was enough space for a handy tall shelving unit to fit in the gap between the shower tray and the chimney breast.
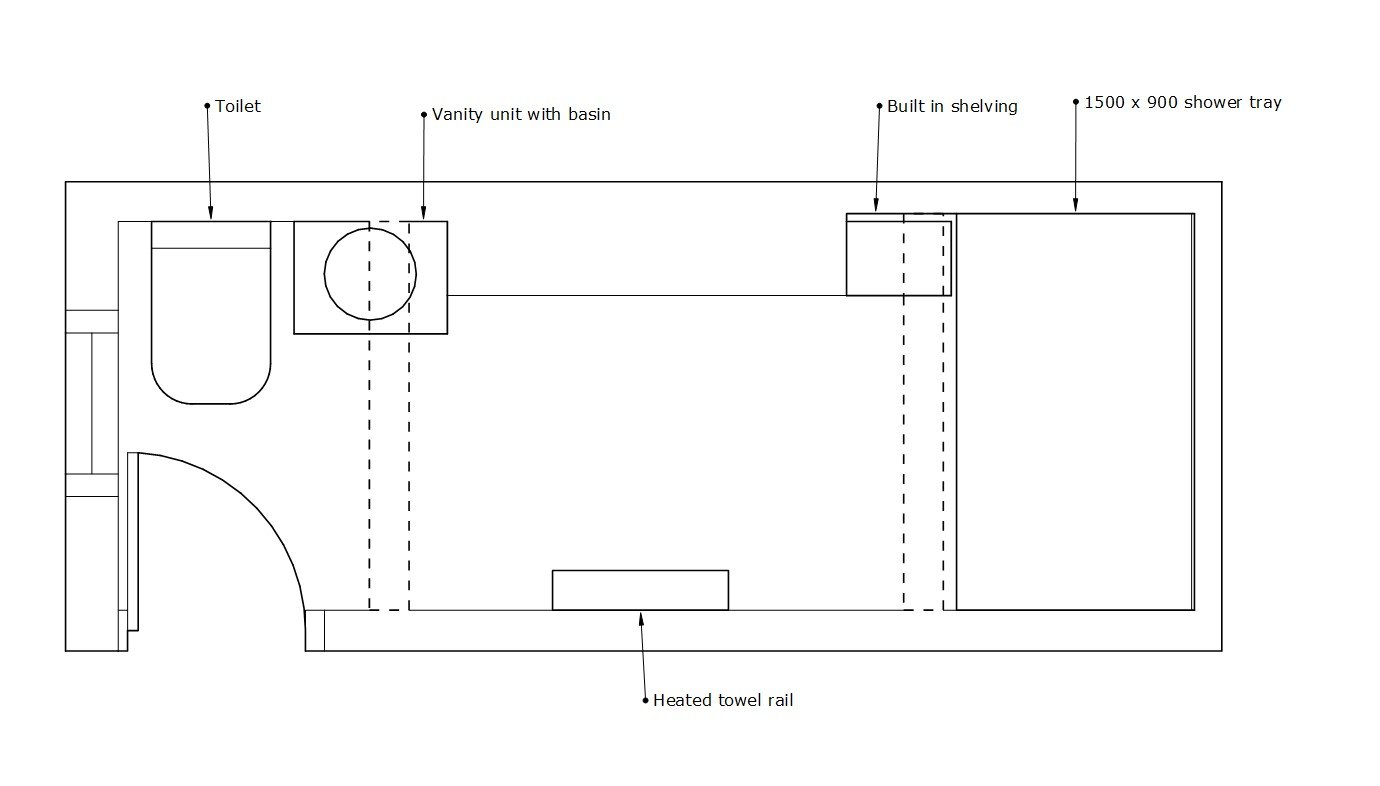
Layout plan
The Interior Design Brief
As part of the brief, the client asked for a luxurious and opulent space.
Because we were moving the location of the shower, the pipework had to be moved which meant the plumbing costs were higher. This project also needed a plasterer, an electrician, a joiner and a decorator. A lot of the budget had to be allocated to these which meant that we needed to find other ways to save on costs. The client also decided to coordinate the project herself to make savings.
Here’s how we achieved a luxury look on a budget.
1. Go dark
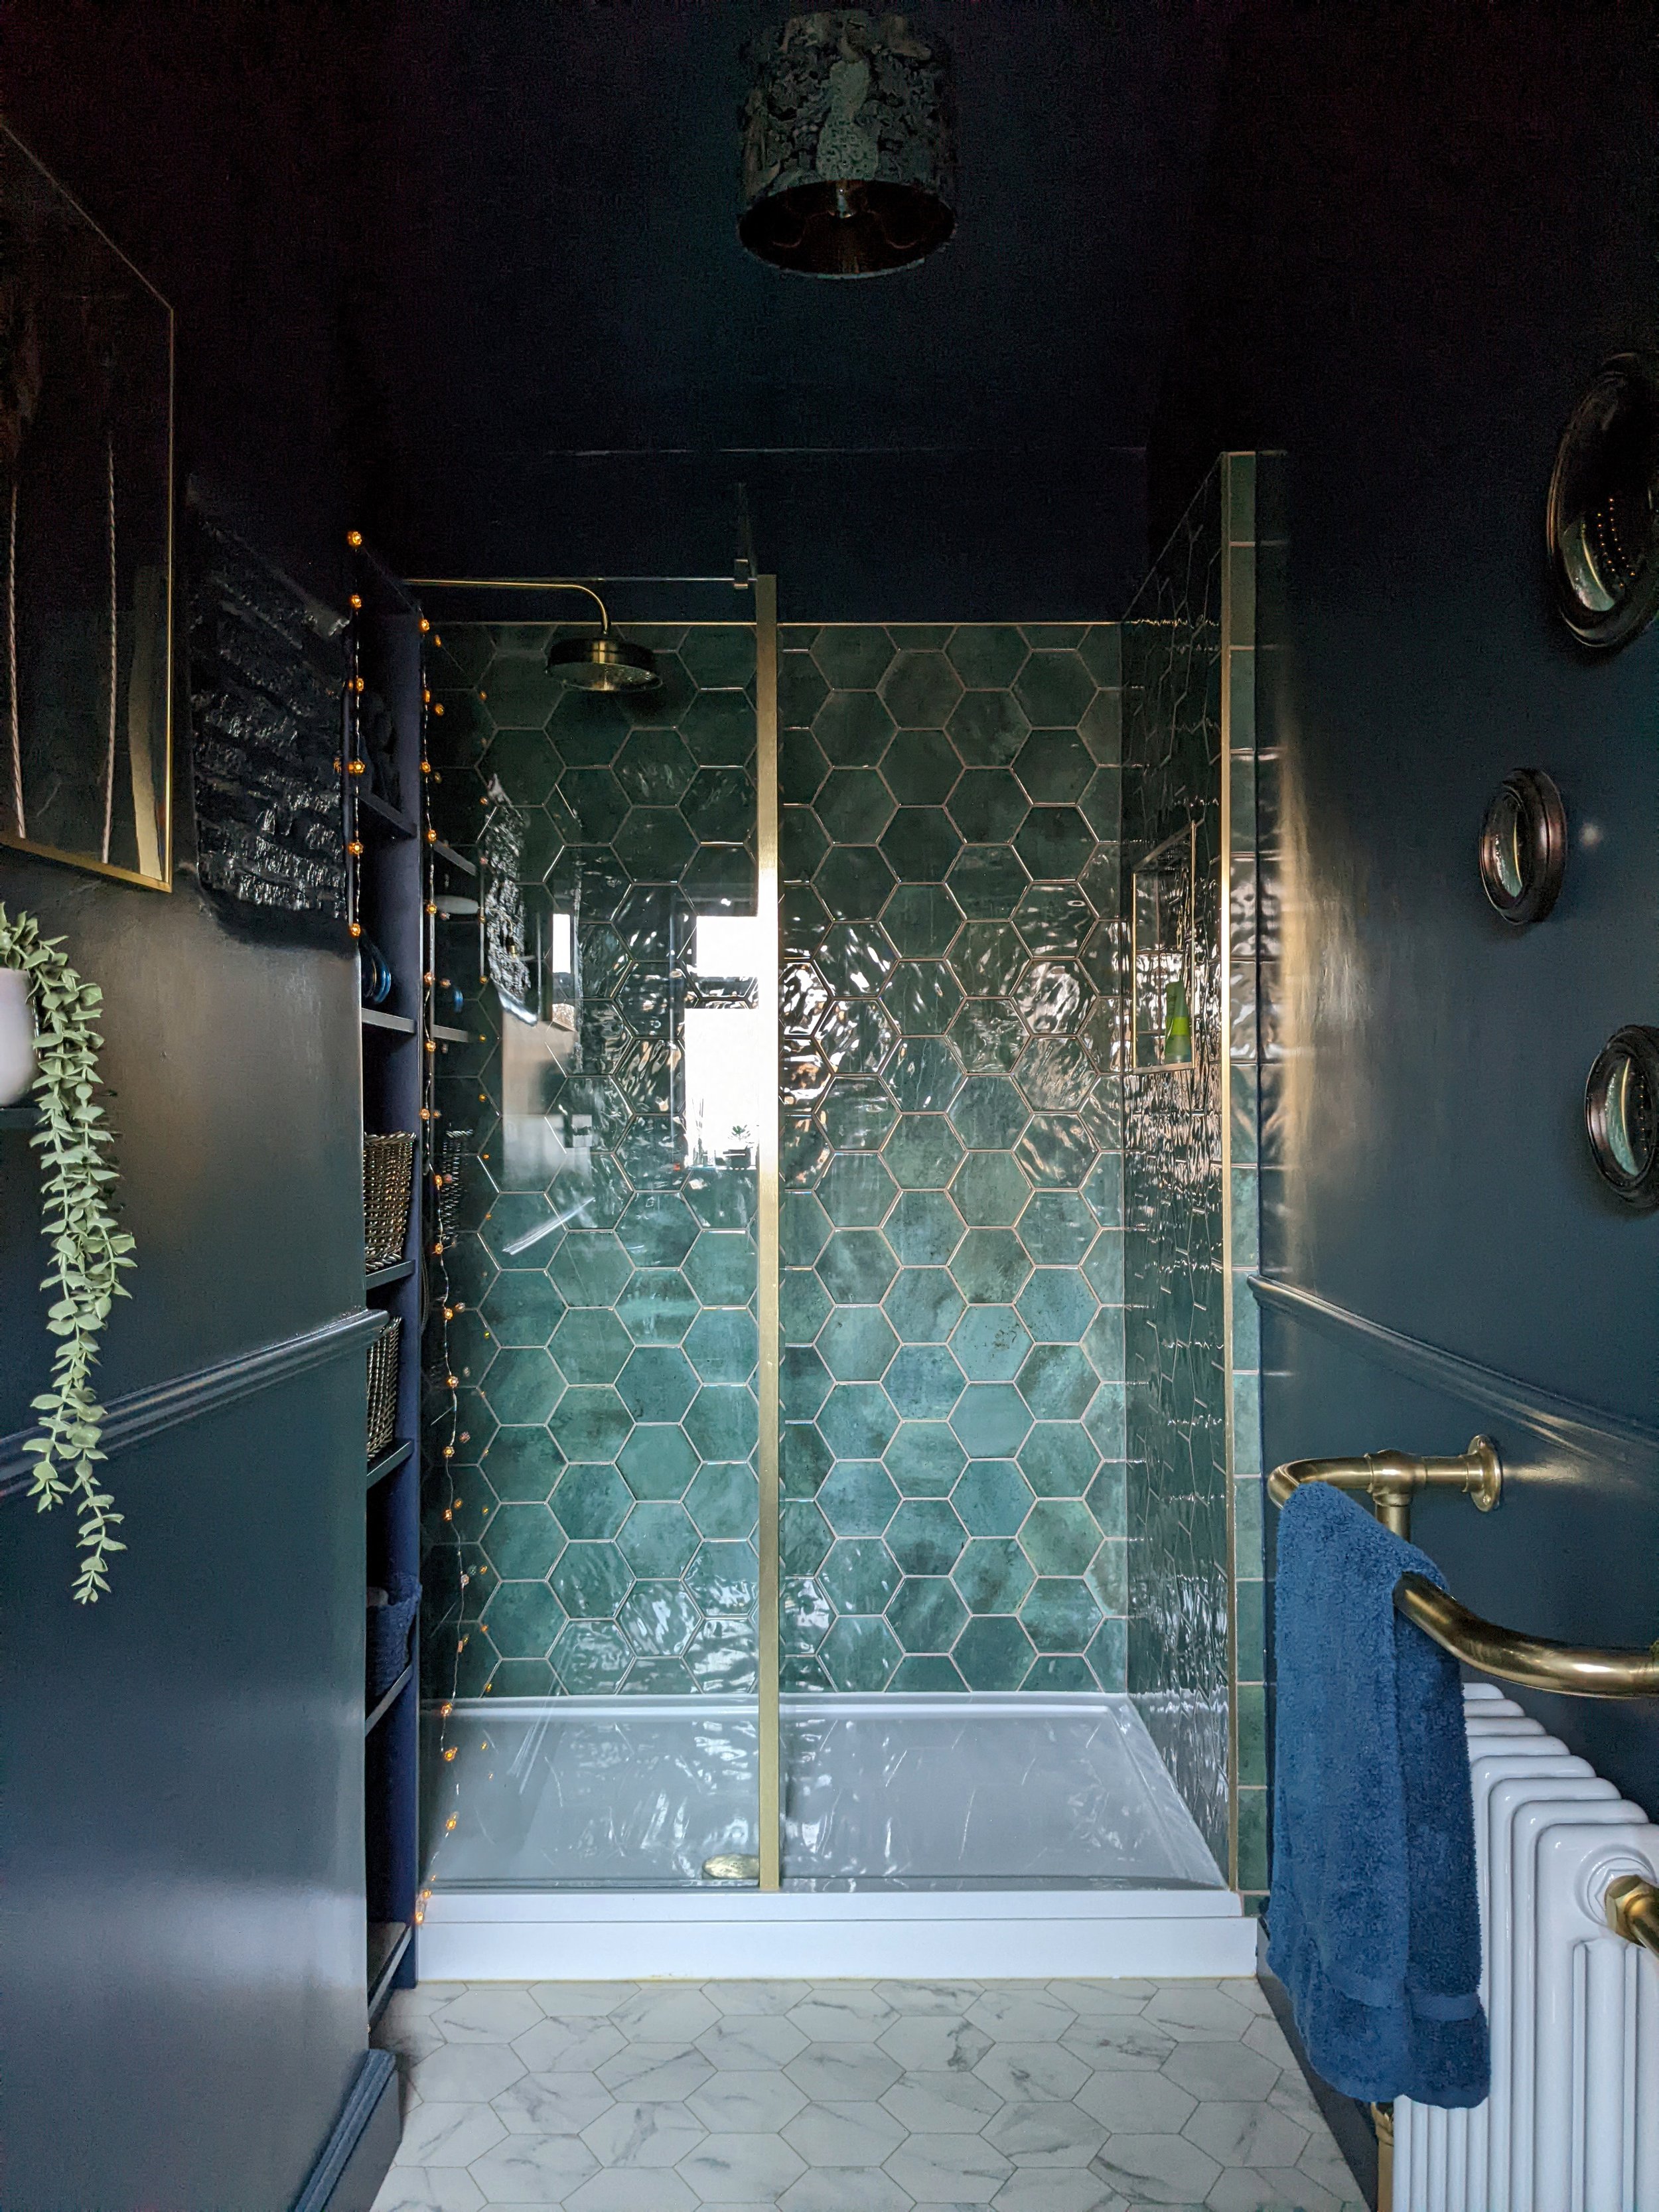
Using paint is a really affordable way of changing the feel of a space and dark paint instantly creates a more high-end look. This room gets hardly any natural light so we decided to embrace it and go dark to heighten the feeling of luxury. The bathroom walls are painted in a bold colour - Farrow and Ball’s Hague Blue, colour matched in Zinsser Perma-White, which is scrubbable and mould resistant. We also carried it up on to the bathroom ceiling to blur the line between wall and ceiling, resulting in a more calming feel. For advice on how to choose paint colours for your home, read my blog post here.
2. Only tile a small area
Tiles can be expensive from both a materials and a labour perspective so we only tiled inside the shower area, meaning that fewer tiles were needed. The blue-green complements the wall colour perfectly and the gloss finish creates a dramatic effect.
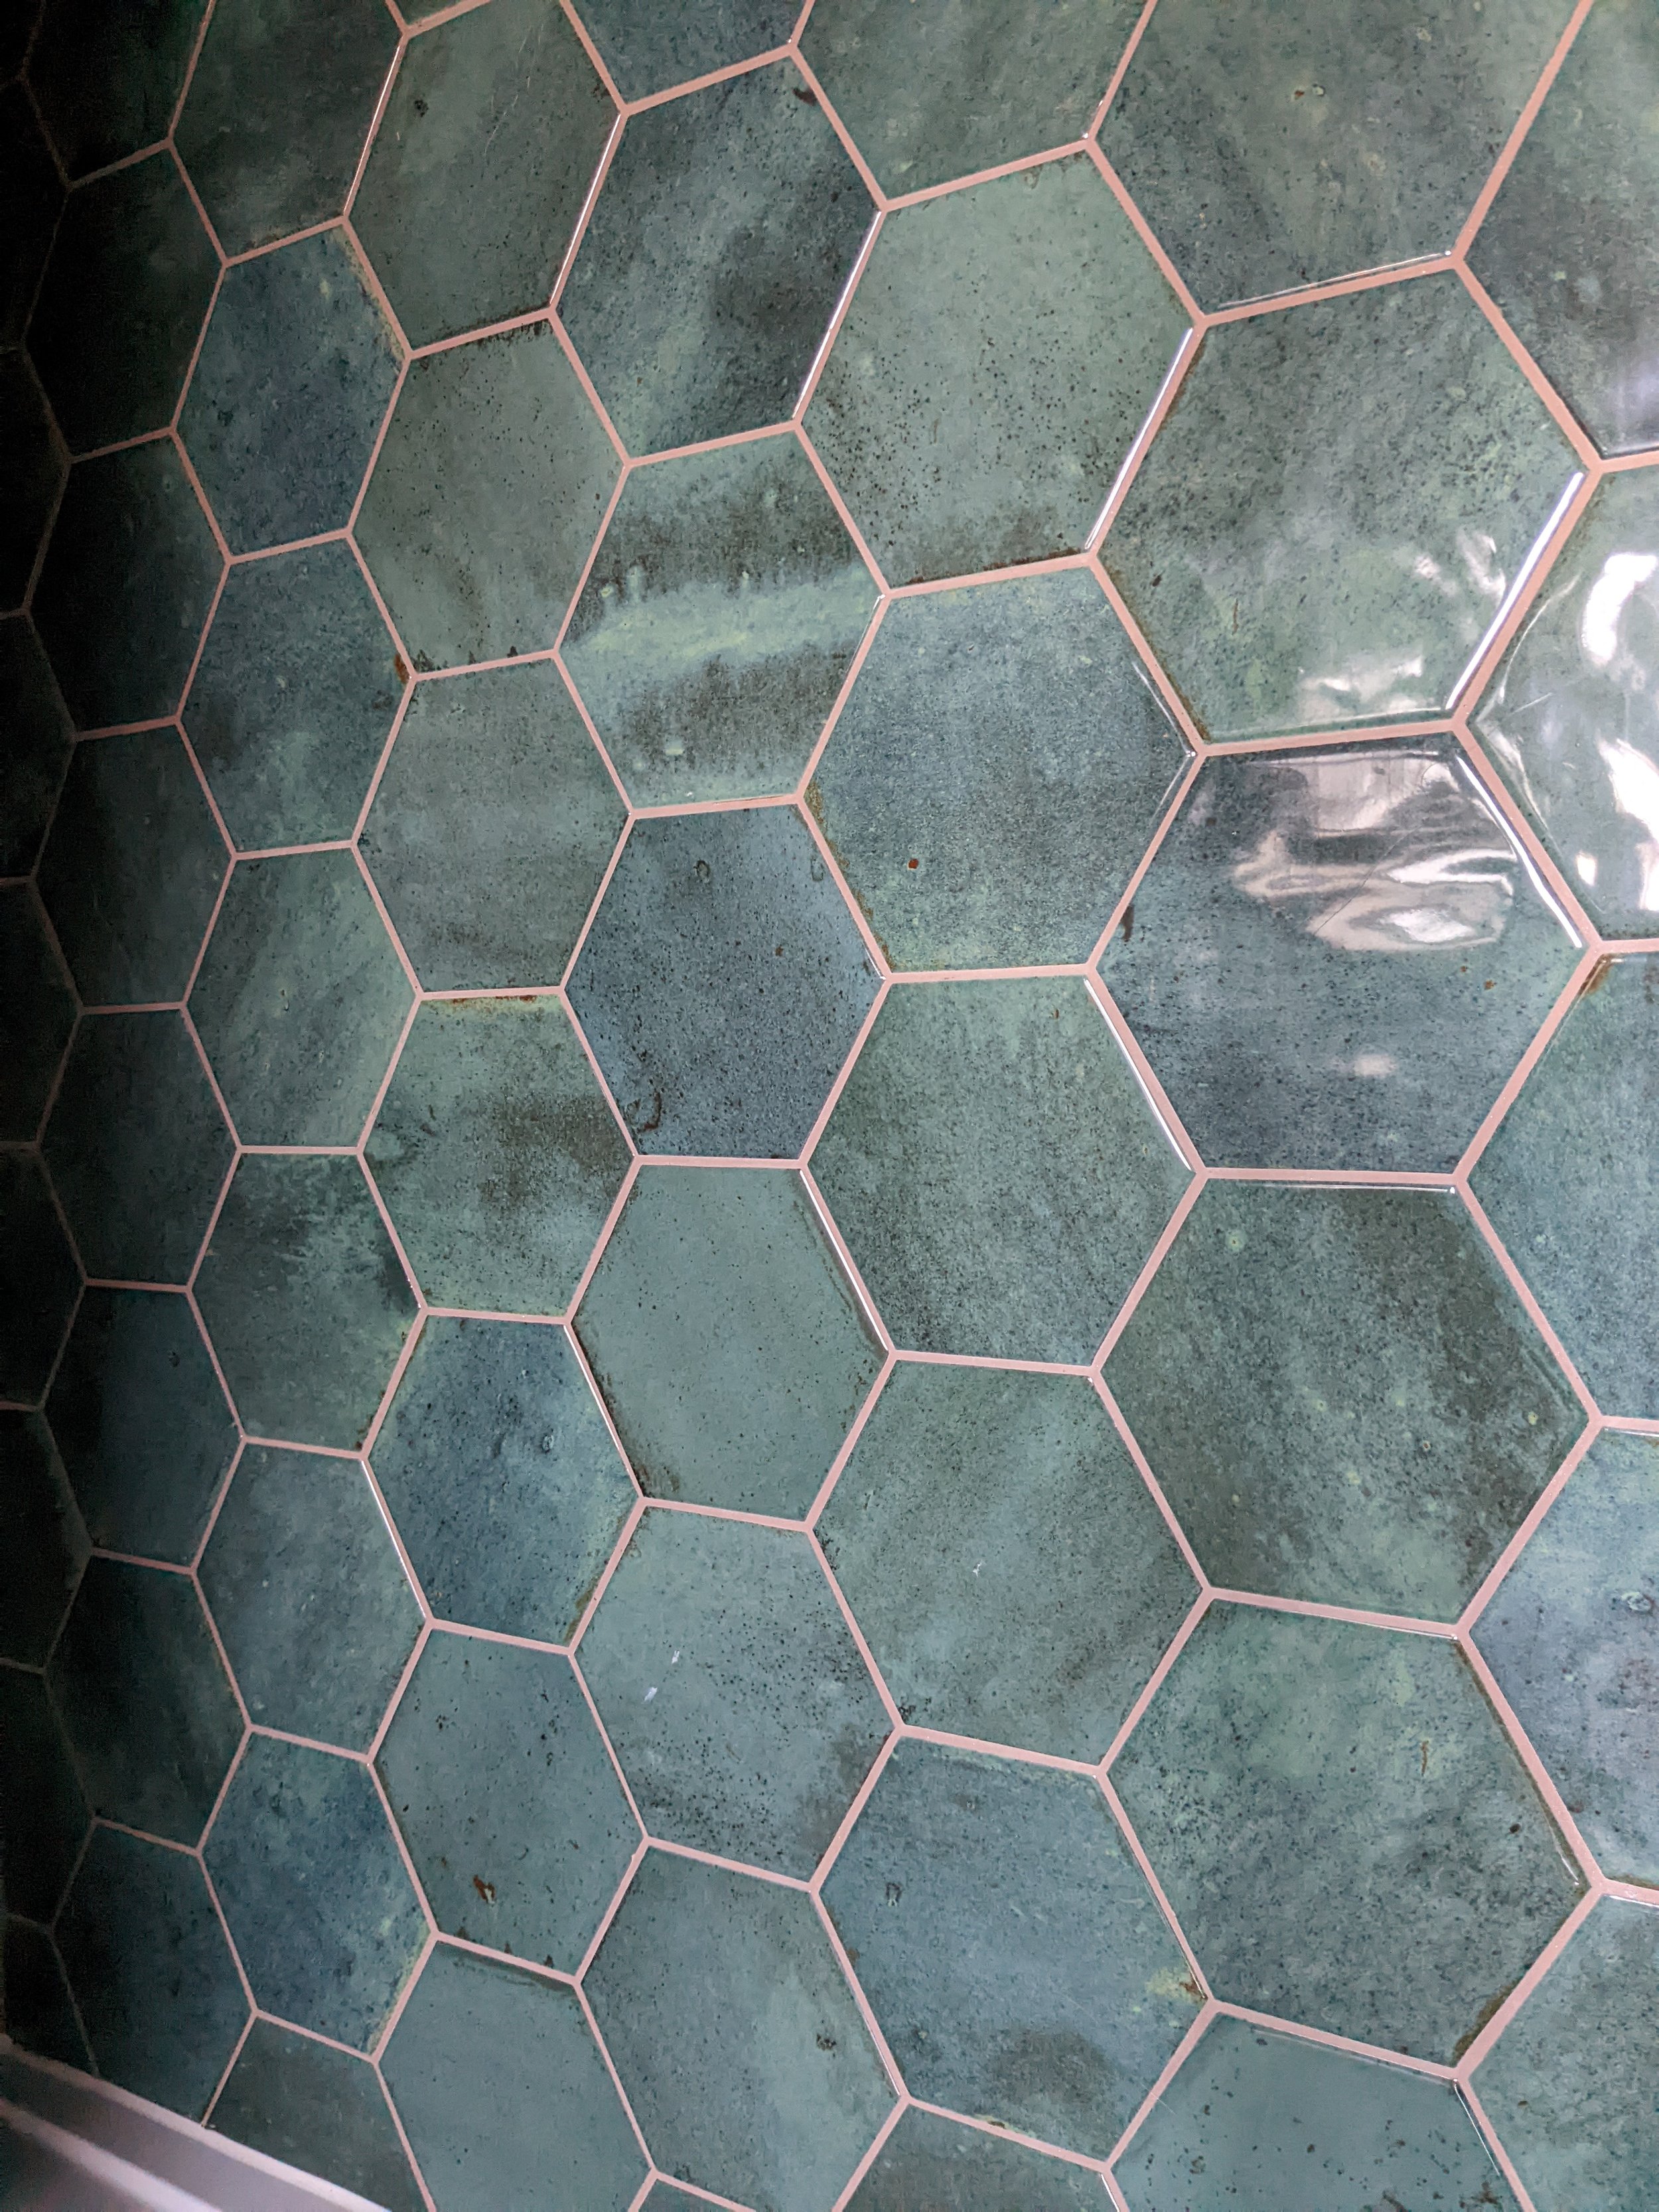
These are the Elazar ceramic tiles in Olive Green from Your Tiles and we used a pink grout for a lovely feminine twist!
3. Use a vintage cupboard as a vanity unit
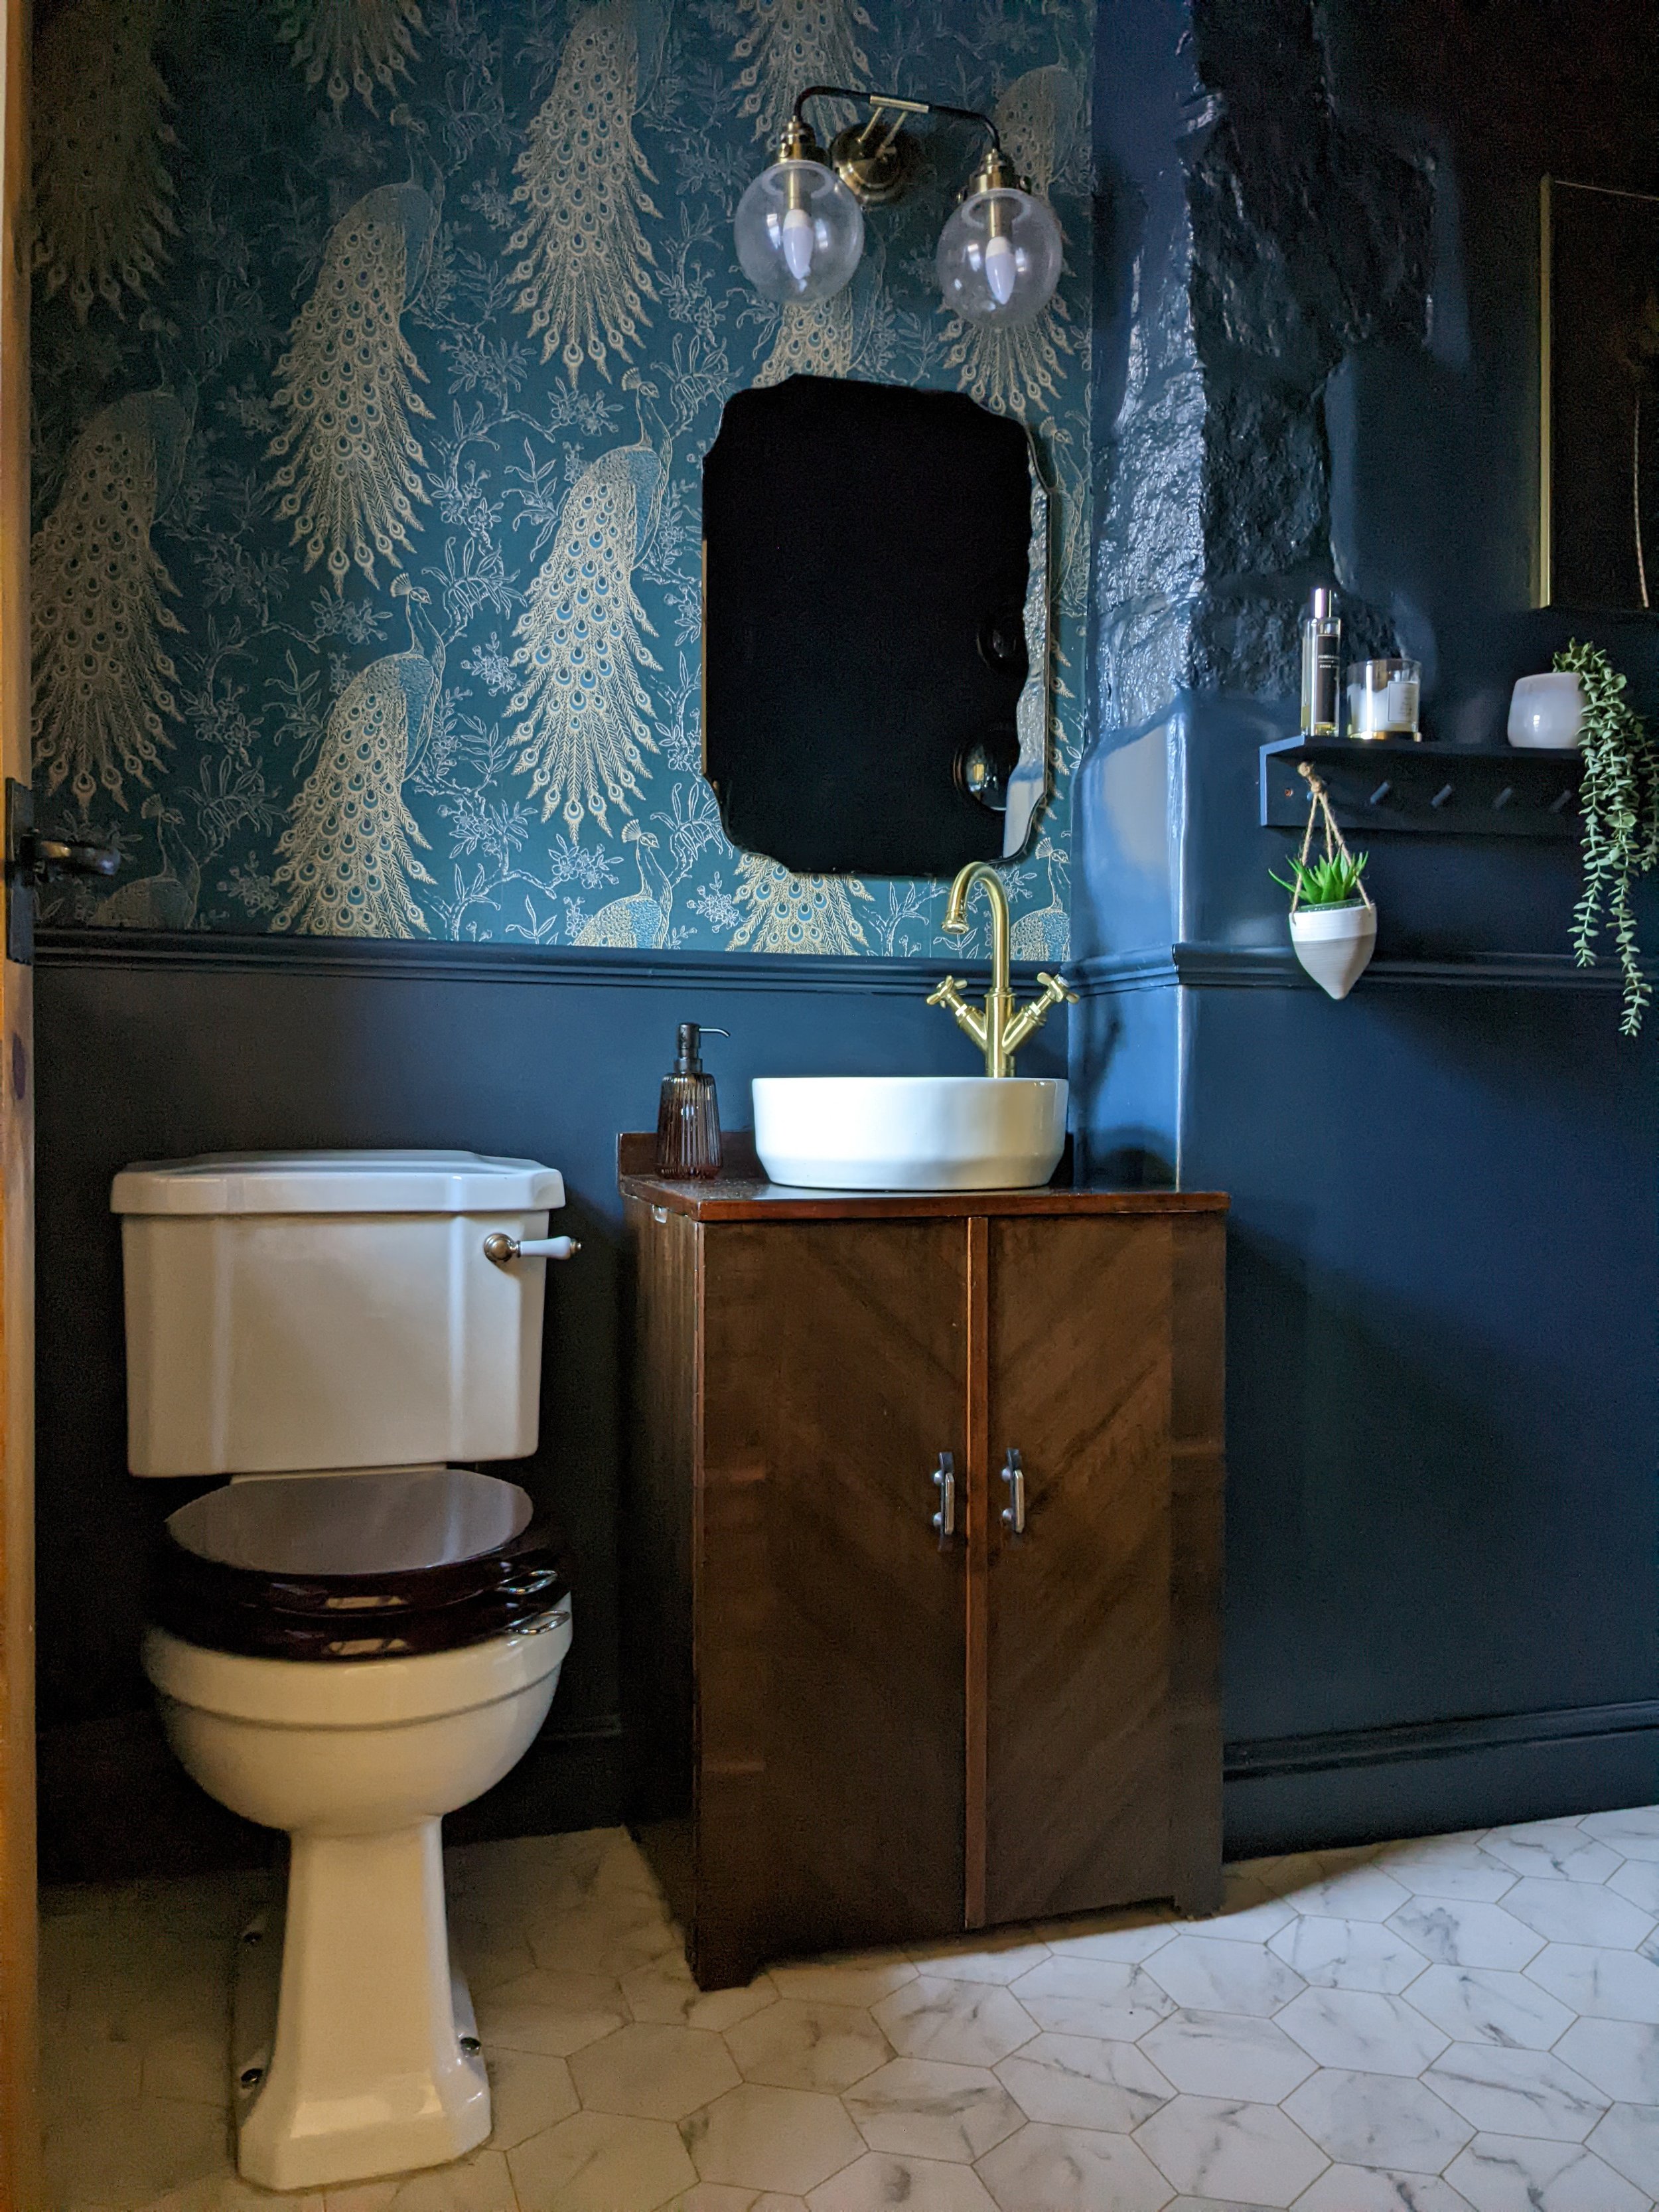
Choose a vintage piece of furniture for a fraction of the cost of store-bought or custom cabinetry. This cupboard had been in the client’s family for years and she was really keen to incorporate it into the design. It adds lots of character and is great for storage space. We complemented it with a traditional style toilet from Burlington Bathrooms. The vintage mirror above the basin reflects a collection of smaller mirrors in a convex design which bounce light around.
4. Choose an affordable wallpaper

For a touch of luxury, the client was really keen to incorporate a wallpaper with a peacock print in the scheme. This one was only £18.99 per roll from Decorating Centre Online and it has a washable finish. The gold detailing adds to the luxury feel.
5. Paint IKEA shelving for a built-in look
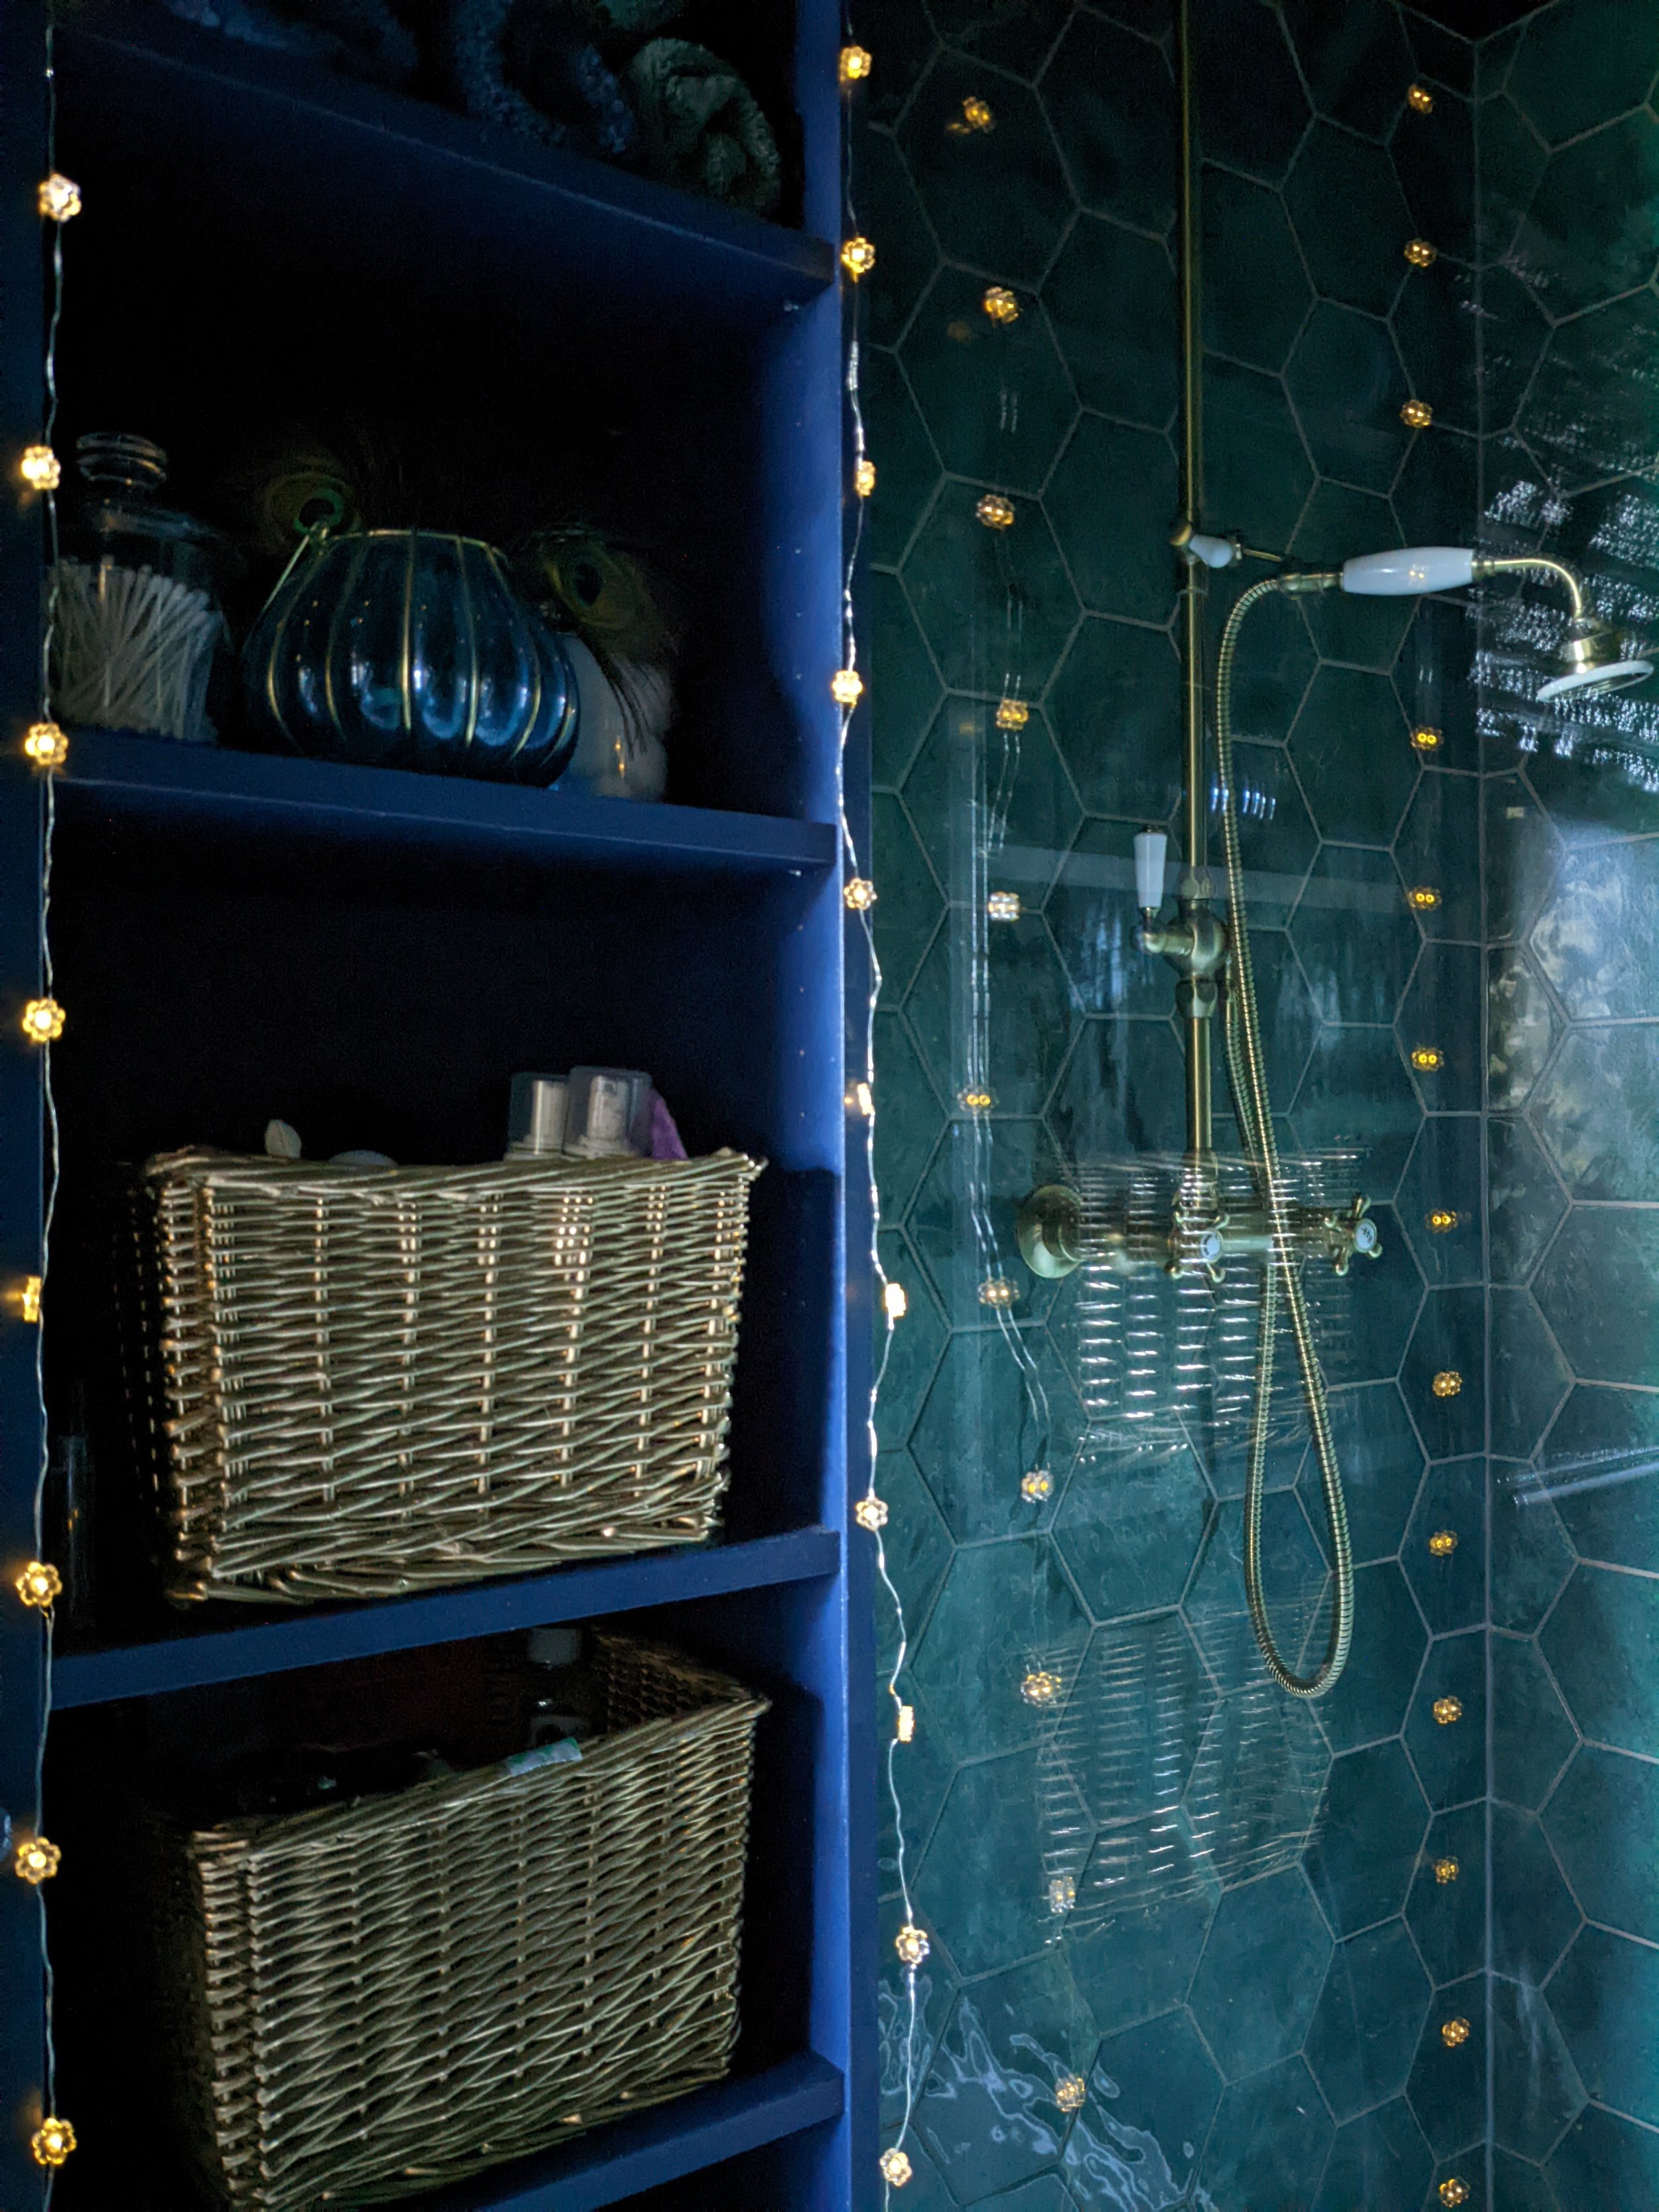
The shelving unit is an IKEA Billy bookcase, painted blue to blend with the walls - it’s actually a colour match by a different brand so not quite the same blue but still blends well. The client used Zinsser BIN primer under the paint, which is recommend for painting laminate furniture. Although it says that sanding isn’t required with this primer, if you’re painting IKEA furniture, I highly recommend giving it a really good sand with an electric sander if possible. This will create a key for the primer to stick to. The client has added the pretty fairy lights for cosiness - I love it!
6. Choose a shower with exposed valves
We chose affordable fixtures, with gold tapware to heighten the sense of luxury. The traditional style suits the age of the house. A shower with exposed valves is easier to fit than one with concealed valves so plumbing costs will be less.

Traditional gold shower head with exposed valves.

Gold tapware for a luxury feel
7. Opt for vinyl flooring
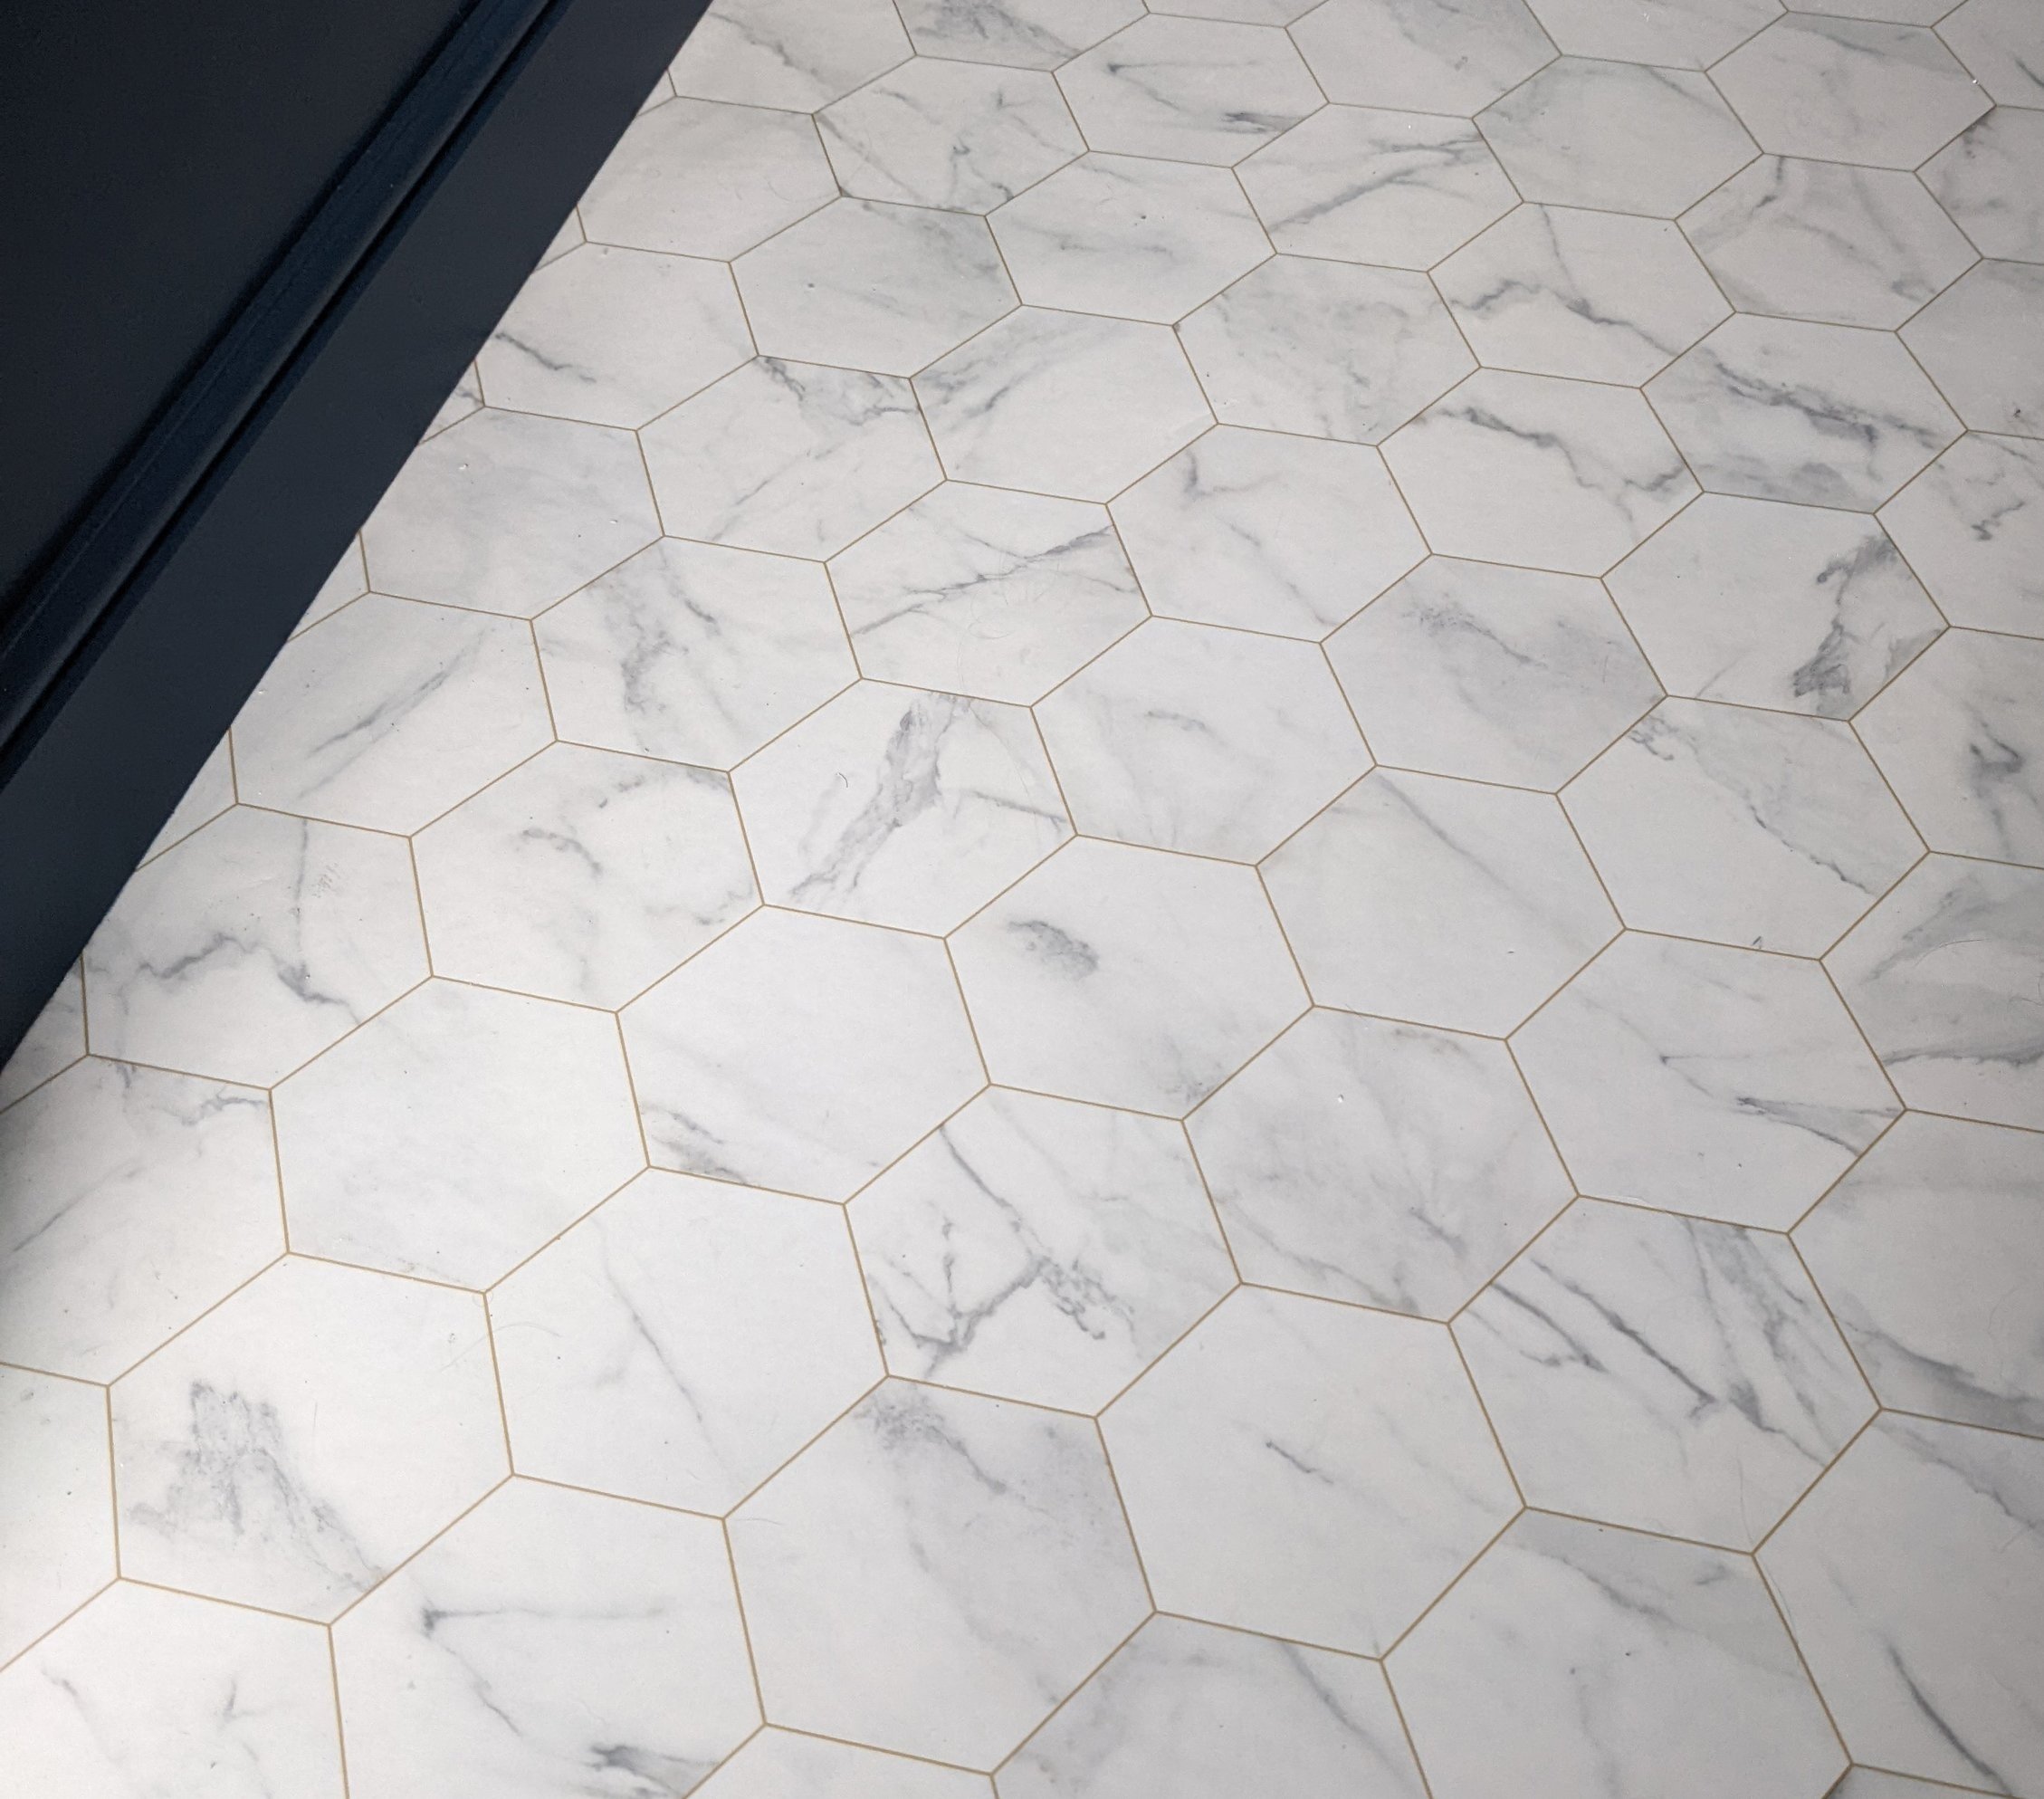
The flooring options you choose can make a massive difference to the overall cost of a project. We wanted the look of marble but we looked at affordable alternatives. We decided on a vinyl flooring in a marble white tile design - more affordable than tiles and much cheaper to fit. This Carrara Bianca Esagono Sheet Vinyl Flooring from Best4Flooring is only £14.99 per metre - it looks so much more expensive! The hexagon shapes tie in with the wall tiles and I love the gold grout detailing.
So there you go - cost effective ideas for creating a luxurious bathroom space! What do you think? Let me know in the comments.
And for lots of country cottage decor ideas, take a look at my Georgian cottage transformation.
I'm a West Yorkshire based interior designer and I also provide an online design service. If you’d like some help with a project and would like to chat about how I can help, please contact me.
